Hi friends! Today, I have a cute Valentine's Day gift set to share with you. It's great for the upcoming holiday for a friend, co-worker, classmate or a babysitter. It would even make a "sweet" hostess gift if you're going to someone's house that evening. I made
this project for Lori Whitlock's blog a while back but I
never shared the tutorial here on my blog, soooo... here it is!
In this project, I used double-sided adhesive. Which ... is so fun to play with. It makes adding glitter, flocking powder, embossing powder or other decorative materials to your project quick and easy.
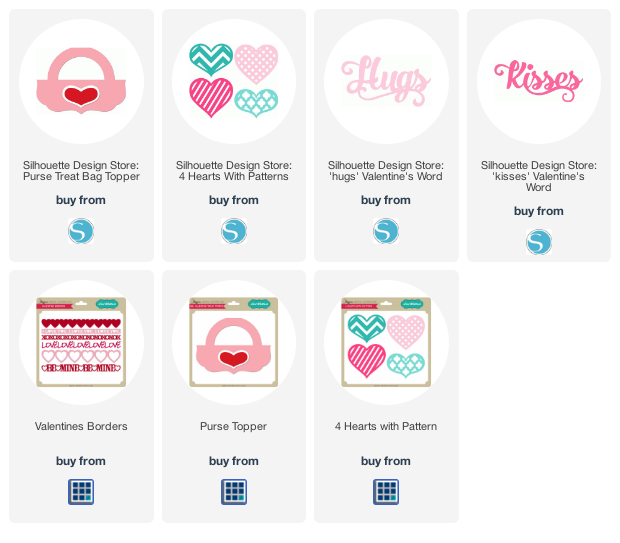
I knew I wanted to use glitter on my gift set so I started with the shape that I wanted to have the glitter on. I chose one of Lori’s cute new heart designs and resized it to fit my card front. (All cutting files links are below.)
Next, I opened my Cut Settings window and changed the setting to Double-Sided Adhesive, changed the paper size to 8 1/2 x 11 in page settings, loaded the adhesive into my CAMEO and hit cut.
After cutting out the adhesive material, I set that aside so that I could cut a white background heart to apply the double-sided adhesive to. I could have just applied the shape directly to my card, but I wanted the heart to pop up from the card with foam tape, so I needed a background. I wanted the background to be solid, so
I needed to remove the lines. To do this, I had to release the compound path by right-clicking and choosing Release Compound Path.
Now I was able to go in and delete the striped areas of the shape and cut out a simple white heart background. Before cutting, I made sure to go back into cut settings and change the setting to cardstock.
Now that I had two hearts cut out, I just needed to peel the yellow backing off of the double-sided adhesive and apply the striped heart to my white card stock background shape.
Next, I carefully peeled off the top white layer of the double-sided adhesive and applied red glitter. I wanted to make sure it was covered well, so I pressed the glitter down onto the adhesive before shaking off the excess.
I repeated these steps for the glitter word “Kisses” on my treat bag topper too. In order to have space for “Kisses”, I deleted the heart that comes on Lori’s cute purse treat bag topper. I also created two internal offsets for the front of this piece so that I could layer matching papers to the front.
I love Lori’s “Hugs” and “Kisses” files and thought they made a cute Valentine gift set when used together!
To see my original post over on Lori Whitlock's blog, click HERE. Hope you have fun with this one and happy scrappin'!

Blog * Facebook * Instagram * Pinterest


Cute card and treat bag topper!
ReplyDeleteHave a great day!
Marilyn❤️