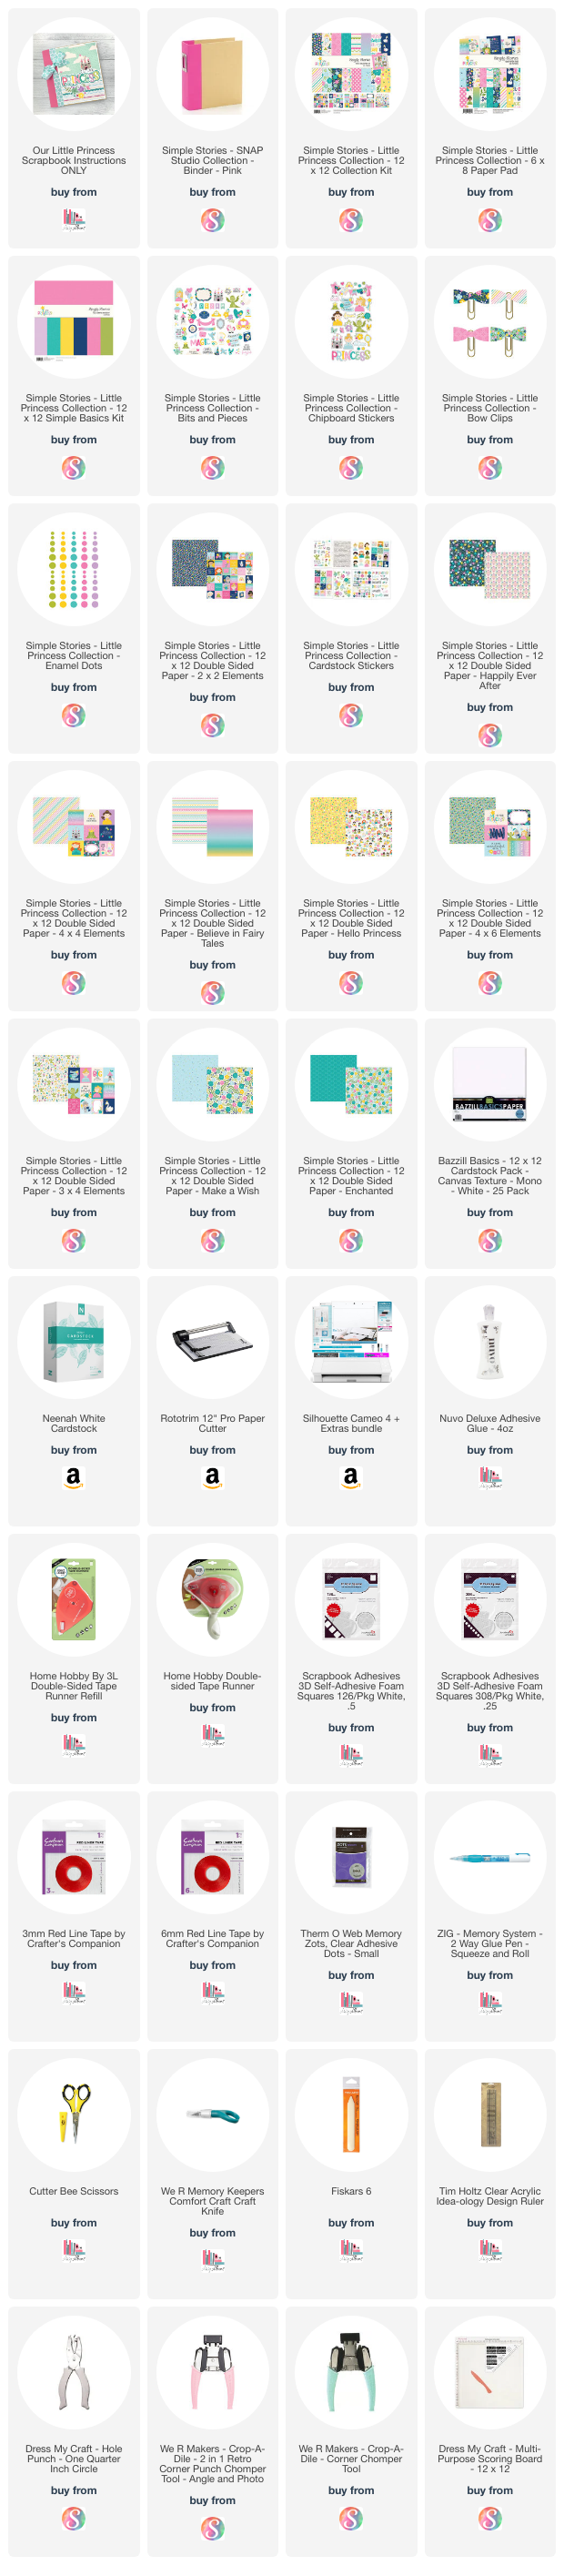
Sunshine, flowers, butterflies and warmer weather! Spring has arrived here in Georgia and despite the incredibly high pollen counts, I'm ready! I've been having lots of fun playing with the Simply Spring collection so I'm excited to share my latest mini with you.
For this one I used an acrylic cover that I love for layering all of the cute stickers and die cuts!
I added fun stickers and die cuts to the cover and some of Doodlebug's adorable envelopes and cards inside the album. Here are a few pictures, but you can also take a better look at the album by scrolling down to my You Tube video!
I just can't get enough of this Spring collection. I love the flower pots and those cute little critters are wonderful! Check out my video below and please subscribe to my You Tube channel!
Here's to warmer days and lots of spring sunshine in your part of the world! Thanks for stopping by!
Supplies: Affiliate links are used in this
post at no additional cost to you. I receive a small amount of compensation
when you click through and shop using the provided links. This helps me to
continue building my small business. Thank you!
Happy Spring everyone! You may still have snow on the ground where you are, but that doesn't mean you can't start dreaming of warmer weather, spring flowers, and a visit from the Easter bunny! We've been super busy at Artsy Albums prepping all of our new spring kits! We're so excited about these and have more to come very soon so be sure to follow us on Instagram and on Facebook to stay up-to-date. Or visit my online shop, Artsy Albums here!
Easter Sunday Scrapbook Page Layout
To purchase the instructions to make these pages visit:
Update: These kits have sold out
but the instructions are available in my shop. They are simple, step-by-step,
and include full color photos of each page. Links for the
instructions and the products used are below. Happy scrappin'!
Supplies:
Affiliate links are used in this post at no additional cost to you. I receive a
small amount of compensation when you click through and shop using the provided
links. This helps me to continue building my small business. Thank you!
Hi everyone! I have a post over on Simple Stories today to share my Little Princess Sn@p album. These pages were especially fun for me to create because I'm a mom of two boys. Pink and princess themes haven't always been something I did a lot with ... until now! My granddaughter has made my albums more colorful, and a lot more pink!
To purchase the instructions to make this album visit:
The 6x8 Little Princess paper pad is SO CUTE! I loved this page so much I just adhered a few little bird die cuts with foam adhesive to give the paper some dimension.
I used bits & pieces die cuts (love that dragon!), chipboard pieces, and those cute bow clips to embellish the pages.
The colors in this collection are perfection!!
To purchase the instructions to make this album visit:
Affiliate links are used in
this post at no additional cost to you. I receive a small amount of
compensation when you click through and shop using the provided links (Note: my
Artsy Albums shop is not an affiliate link). This helps me to continue building
my small business. Thank you!
Hello everyone! You've heard of a "brag book" ... like a little album grandma keeps in her purse to share photos with her friends? Well, how about a Brag Box? I was playing with some 3D box cut files recently and found this one by Lori Whitlock called Heart Box. I love the darling little heart cut outs and it gave me an idea for a cute photo project.
Check out this video to see the entire project and then I'll give you some tips on making one for yourself!
After purchasing and downloading Lori's file, I used my Silhouette to enlarge the two box pieces so that the square in the center of the lid was 4"x4". I cut out both pieces and used a strong liquid glue to adhere them.
Next, I cut a small slit in the top of my box lid, and put one end of a30" ribbon through the top of the lid. I adhered the end to the top of the lid and covered it with several layers of card stock, cherry petite prints, and Lots of Luck pattern paper.
To add the enamel heart sprinkles to the white box base, I used a craft knife to position each heart through the cut outs in the lid. I will definitely be getting more of these! Love them!
For the photos, I adhered six 3.5"x3.5" white card stock squares along the ribbon and added 3.25"x3.25" pattern paper to the front and back of each square. Each of my 12 photos were cropped to 3"x3" and adhered over the pattern paper mats.
Finally, I adhered 6 Doodle-Pop hearts (3 back to back) to finish off the end of the ribbon. It was a fun way to showcase a few pictures of "the bug", aka my granddaughter :).
I've added links for the products used below & I also added a few substitutes as well. Thanks for stopping by and happy crafting!
Supplies:
Affiliate links are used in this post at no additional cost to you. I receive a
small amount of compensation when you click through and shop using the provided
links. This helps me to continue building my small business. Thank you!