Hey guys! Today, I'm sharing my latest Doodlebug Design Team Project. It's a bright and fun 12x12 layout just in time for the 4th of July. I have always loved the red, white, and blue color combination. But when you pair those colors with Doodlebug's adorable patterns and embellishments ... it's even more fun!
(14).png)
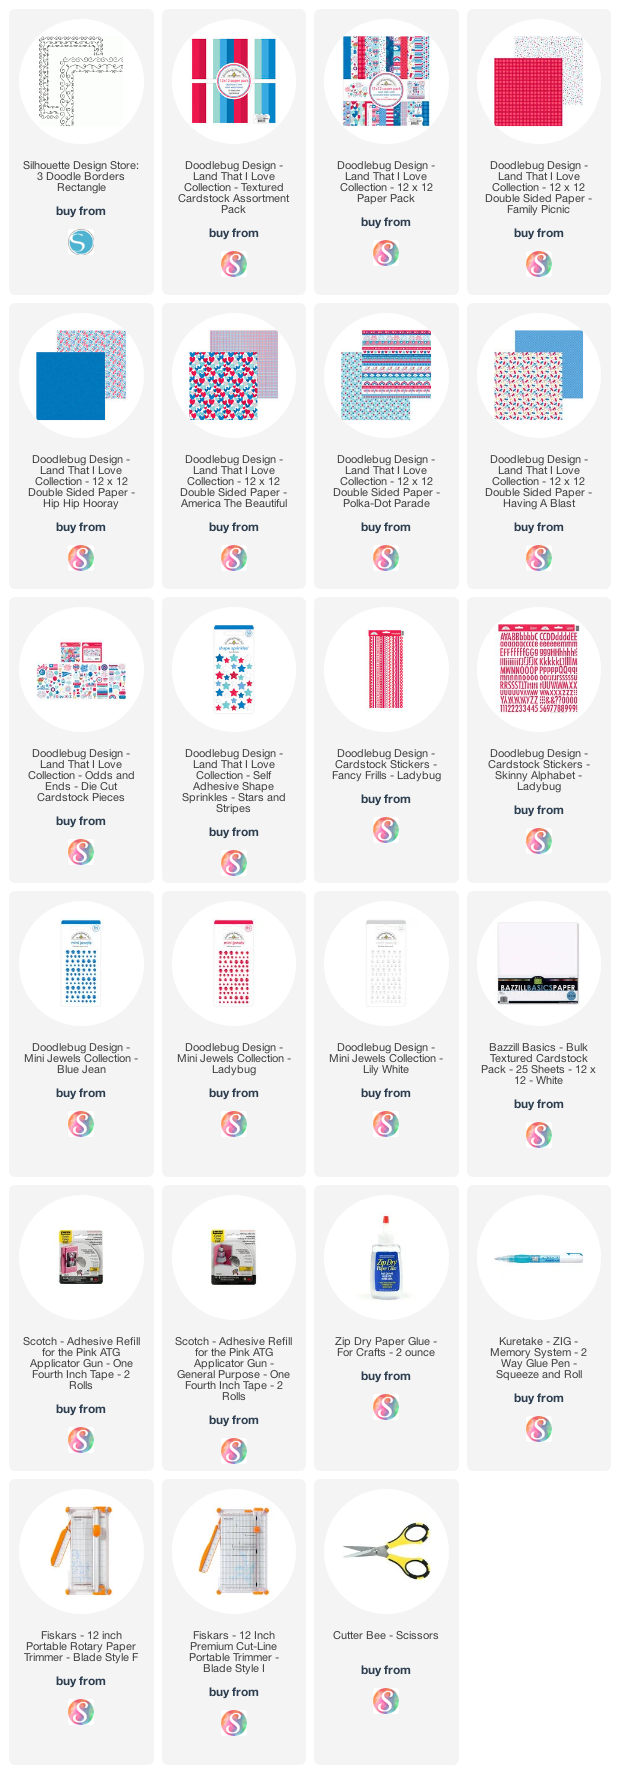
To make this page, I layered Doodlebug's textured card stock in ladybug with some pattern papers from the Patriotic Picnic Collection. I used my Cameo machine to sketch a fun swirly border into the white card stock using a cutting file called 3 Doodle Borders. Then, I anchored the layout with some striped paper and scallop fancy frill stickers (product links below).
(12).png)
For my title, I used the Chippers alphabet stickers in ladybug. And you just can't have a patriotic holiday without a little sparkle, so ... the star jewels were perfect for adding a little shine to my layout.
(13).png)
Above, I combined the Chippers alpha stickers and the Skinny card stock stickers for my July 4th title. I think they work great together! The cute American flag is one of the icon stickers and I added another star jewel to it for more sparkle.
Thanks for stopping by the blog today. I hope you have fun with the Patriotic Picnic Collection. Below are the links for the products used in this layout. Have a wonderful and safe holiday! 😊