Thursday, December 31, 2020

New Year's Eve Scrapbook Page Layout

Happy New Year's Eve! Bye bye 2020! 👋 I think it's safe to say our bar is set pretty low after this past year so, I'm looking forward to seeing what fun and exciting things are just around the corner. 

While New Year's Eve is usually celebrated with friends and family, evening parties, dancing, eating, drinking and watching fireworks ... unfortunately, the theme this year is a much quieter one. The CDC is asking everyone to limit their gatherings and to be safe. So ... time to get creative!! Just because our New Year's Eve plans are at home doesn't mean our evening has to be boring!

Maybe it's just you and your sweetie or ... you and a few friends. Either way, if you normally dress up ... DRESS UP! Yes, even if you're just sitting on the couch. Who cares! It might be the first time you've dressed up in 10 months, lol! And this will make such a cute photo opp!

Plan to make dinner, or order in from your favorite restaurant. Sip champagne, wine, apple cider or any festive cocktail while enjoying some hors d'oeuvres and a super yummy dessert. Let's make this evening fun. We deserve it!

If it's chilly, spend time around a warm toasty fire, drink hot chocolate and watch the ball drop with a friend. Have a game night, build a puzzle or have a virtual toast with everyone you couldn't be with. Don't forget to take pictures! It may not be perfect but it can still be a fun, photo worthy evening.

Then on New Year's Day, spend the afternoon scrappin' your fun evening with a Hallmark movie marathon playing in the background. Yeah, that sounds awesome!

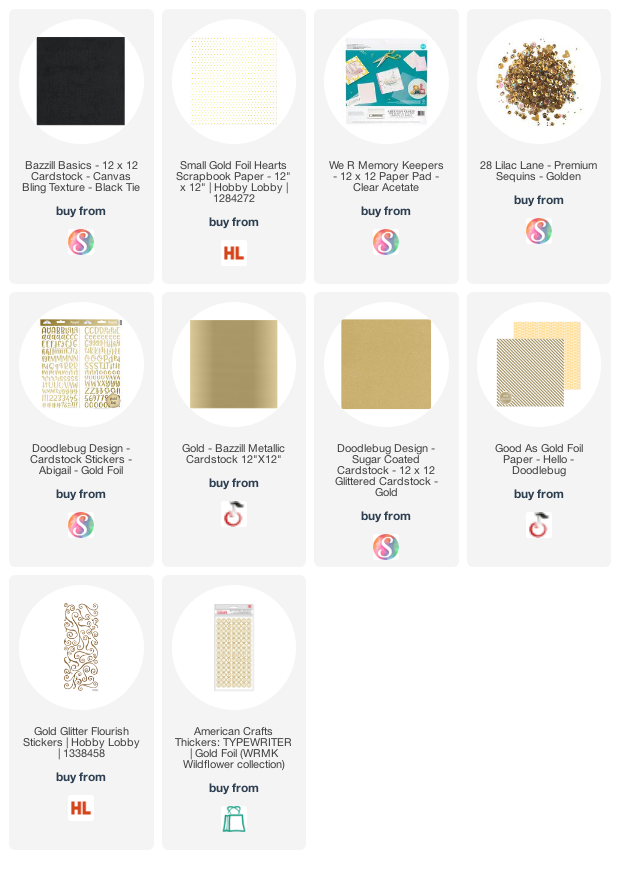
Now, for the how-to ... for the background, I started by cutting a sheet of 12"x12" black cardstock into 2 pieces. (12"x8" and 12"x1 1/2") Then I used a piece of plastic acetate in between to make the page 12x12.

I backed the acetate with a strip of white paper with gold hearts I had in my stash from Hobby Lobby (The Paper Studio) and added some cute gold sequins to float in between!

The clock is from the Simple Stories 2018 New Year collection. The Gold and white striped paper is from the Doodlebug Hello Collection and the gold swirl stickers are from Hobby Lobby (links below). 

I hope you all have a wonderful and safe evening! Thanks for stopping by 😊

Supplies: Affiliate links are used in this post at no additional cost to you. (Note: hobbylobby.com is not an affiliate) I receive a small amount of compensation when you click through and shop using the provided links. This helps me to continue building my small business. Thank you!


Wednesday, December 30, 2020

New Year Albums & Photo Props!

Hello my friends! It's Way Back Wednesday and since the New Year will begin in just a few days, I'm sharing some older projects for inspiration.

I know our festivities will be different this year with masks, social distancing and at-home celebrations still recommended. But ... let's be positive, put 2020 behind us and look forward to a new and better upcoming year! 💖

First up ... a cute mini album I made for 2019. It's 4"x6" and uses the Simple Stories, 2019 Collection.


Click HERE to see the original post, more pictures and the product links! 

Next ...

Another New Years album I made using a mix of different Doodlebug collections including Hats Off, Yankee Doodle, Petite Prints Gingham and Linen and a wild paper from the At The Zoo Collection. This was a fun one!


Click HERE to see the original post, more pictures and the product links! 


Last but not least ...

New Year Photo Props! Perfect for fun with friends or some adorable selfies of you and a loved one. This post shares the cutting file links and explains how to work with double-sided adhesive & glitter!

Click HERE to see the original post, more pictures and the product links!

Hope you enjoy looking through these past projects and they inspire fun creativity! Happy scrappin'!


Blog * Facebook * Instagram * Pinterest

Tuesday, December 29, 2020

Play With Me Scrapbook Page Layout

Hi Doodlebug friends!  I hope everyone had a wonderful holiday.  I had a great time with my family, and especially enjoyed playing with this sweet girl!  Since she was old enough to talk, she has always said, "Play with me Nini!" and I can't say no.  So this pretty picture, and those adorable toy die cuts, inspired this layout.
 
I started by layering two sheets of swimming pool and lily white dot/stripe petite prints for my base.  I added layers of pattern paper from the Night Before Christmas collection and used Sunshine alpha stickers for my title.


For embellishments, I used some of the cute toys from the Night Before Christmas Odds & Ends, and that little blonde doll is actually a sticker from the mini icons.  I also love the Doodle-Pop birds and heart sprinkles so they made an appearance on my page too!

 
Even though these papers and die cuts are from Night Before Christmas, it's not a Christmas layout and I love how it turned out.  It's fun to challenge yourself to use supplies you have on hand for other themes or occasions.  Challenge accepted?  I'd love to see your projects so please tag @doodlebugdesign and @artsyalbums to share!  Happy scrapping!!
 

Supplies: Affiliate links are used in this post at no additional cost to you. I receive a small amount of compensation when you click through and shop using the provided links. This helps me to continue building my small business. Thank you!


Blog * Facebook * Instagram * Pinterest

Saturday, December 26, 2020

Cards for National Thank You Note Day

Hi everyone! Today, is National Thank You Note Day and it's a great reminder to thank our loved ones for their gifts, hospitality, and generosity. So, gather your note cards, scrapbook supplies, stamps, and envelopes ... it's time to send out some handmade cards!

For my latest Bella Blvd project, I made four simple cards using a various Bella supplies. I had so much fun mixing and matching the different paper collections!

4 Handmade Thank You Cards with houses, dogs, fruit, and a tree

My first card was super easy. I just took a 4x6 card from the Squeeze the Day collection and adhered it to the front of my card base with some striped paper.  I also lined my envelope with a cute heart print from the collection. Can't get much easier than that, and ... it's so cute! 
 
Handmade Thank You Card with fruit and hearts

For my next card, I used paper and ephemera from the Fa La La collection.  I used a circle die from Gina Marie Designs to cut out a half-circle on the right side of my white card base.  Then I used a scallop circle die from Echo Park to cut out the pretty blue pattern. I stamped the Thank You sentiment with a Doodle Stamp from the Many Thanks set. I think this card would be super cute to give to a neighbor!
 
Handmade Thank You Card with houses and trees

For card #3, I used those same nesting scallop circle dies from Echo Park, and my favorite colors of Bella Besties to add some fun circles on the card base.  I cut the "thanks" word using the Doodle Cuts Many Thanks die set and a simple tree die cut finished up this colorful card nicely.
 
Handmade Thank You Card with scalloped circles and a tree
 
For my fourth card, I pulled out an older collection that is still one of my favorites, Cooper!  I know my dog loving friends will love to get this card.  I used an orange print from the 6x6 paper pad, a strip of flowers from a 6x6 sheet, some puppy and flower die cuts, and a 3 1/2" scallop circle punch.  The cute Thank You sentiment also came from the Doodlebug Many Thanks stamp set.
 
Handmade Thank You Card with 2 cute dogs and lots of flowers

So if you have a few minutes today, pull out some of your favorite Bella supplies and make a card for someone!  Not only will you enjoy some crafty time, but the recipient of your handmade card will be blessed by your kindness. Links to supplies are below.  Have a wonderful day everyone!
 
Supplies: As an Amazon Associate, I earn from qualifying purchases.  Affiliate links are used in this post at no additional cost to you. I receive a small amount of compensation when you click through and shop using the provided links. This helps me to continue building my small business. Thank you!