It's Funday Friday! My favorite day of the week when I get to share my newest kit with you! This one is a mini album titled Hello Beautiful Friend, and it's just that ... beautiful. This scrapbook makes a perfect keepsake for photos, mementos, and stories from your friendship that will always remind you of the fun you've had.
To purchase the instructions for this album visit:
I created this with my 4.25 x 7.5 inch clear Acrylic Horizontal Mini Album. I added colorful grosgrain ribbons to the 2 book rings and designed it with paper from the Echo Park, New Day Collection. It's filled with pretty colors, rainbows and flowers. It feels like spring!
Other than your family, your friends are the most photographed people in your life. Sometimes they may feel as close as family, so why not have a special album dedicated to them?
Whether your pictures are hilarious, sentimental, or just totally bonkers ... save those fun moments so you can always be reminded of your wonderful friendship!
This album can be about one special relationship, or about many friends. If you're making this about you and your bestie and your friendship is a long one, add photos from when you first met until now and watch as the hairstyles and fashion evolve!
Are you and your friend a lot alike or completely different? Add pictures that celebrate your fun differences or reveal the amazing similarities.
Think of your most memorable times and what common interests you share ... like scrapbooking, music, food, wine, or fitness activities. Write about these and add photos that make you smile. A concert, girls night out, a weekend away, a crop, a visit to a winery or spa, playing tennis or baking together are all fun ideas!
Don't forget to save your memorabilia - tickets to a show, music festival, wine tasting, or craft fair. What about a thoughtful card or note you gave one another. Or, a label from a wine bottle, a favorite recipes or extra photos.
Keep this album for yourself and fill it with your own friend photos, or ... make it for your best friend and give it as a gift. It's perfect for a birthday, graduation, wedding, or a holiday.
Update: This kit has sold out
but the instructions are available in my shop. They're simple, step-by-step,
and include measurements and full color photos of each page. Links for the
instructions and the products used are below. Happy scrappin'!
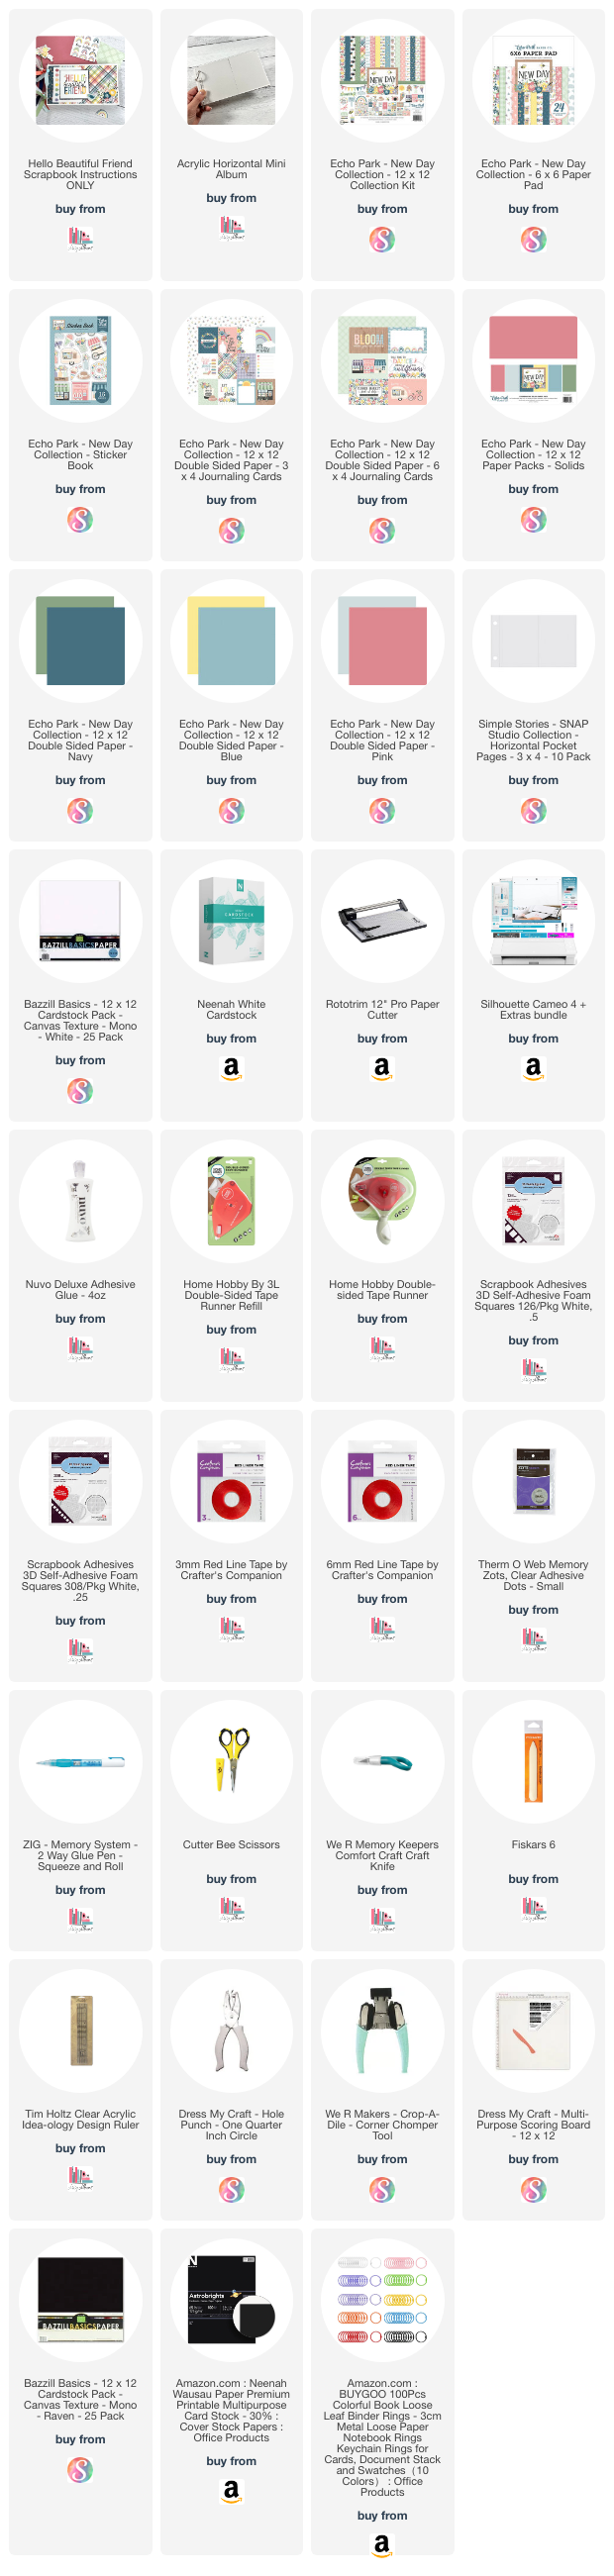
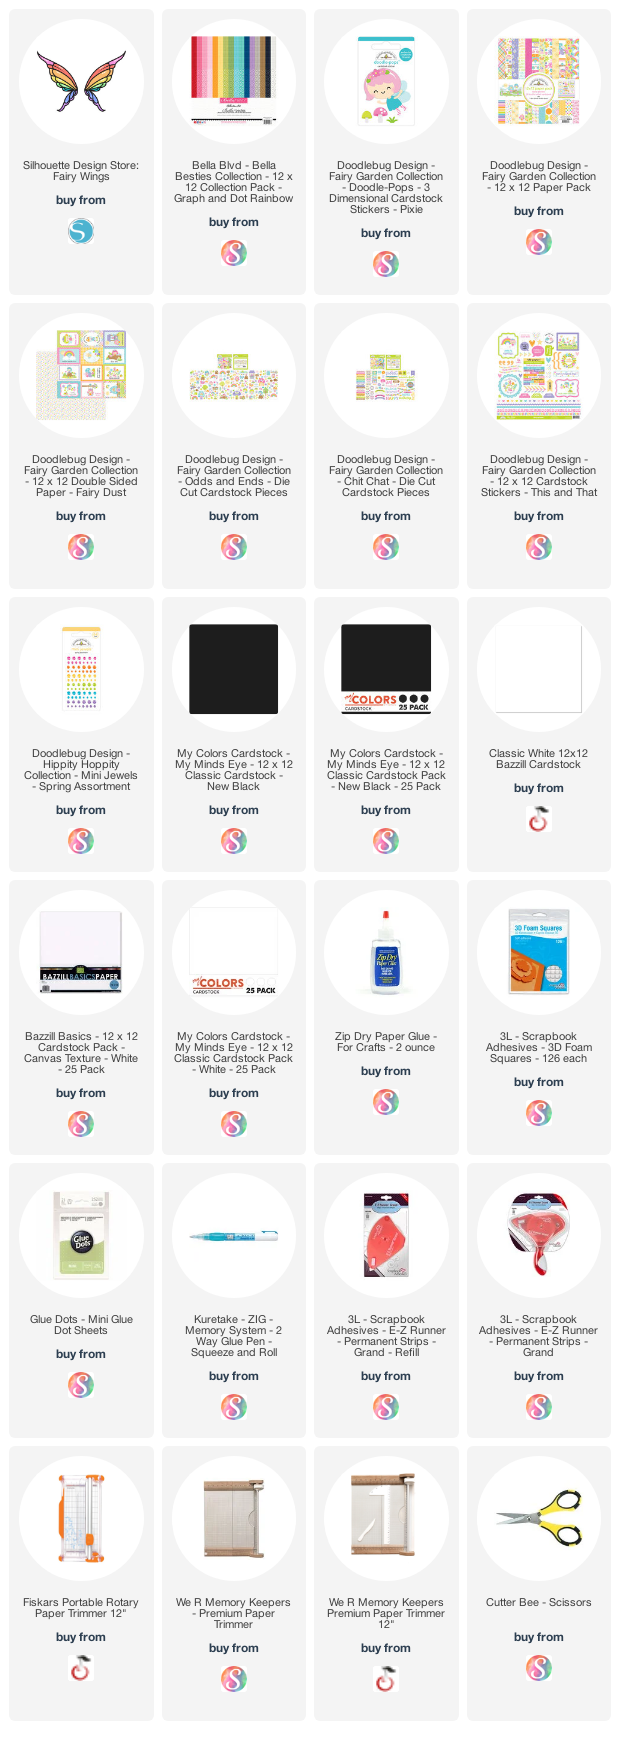
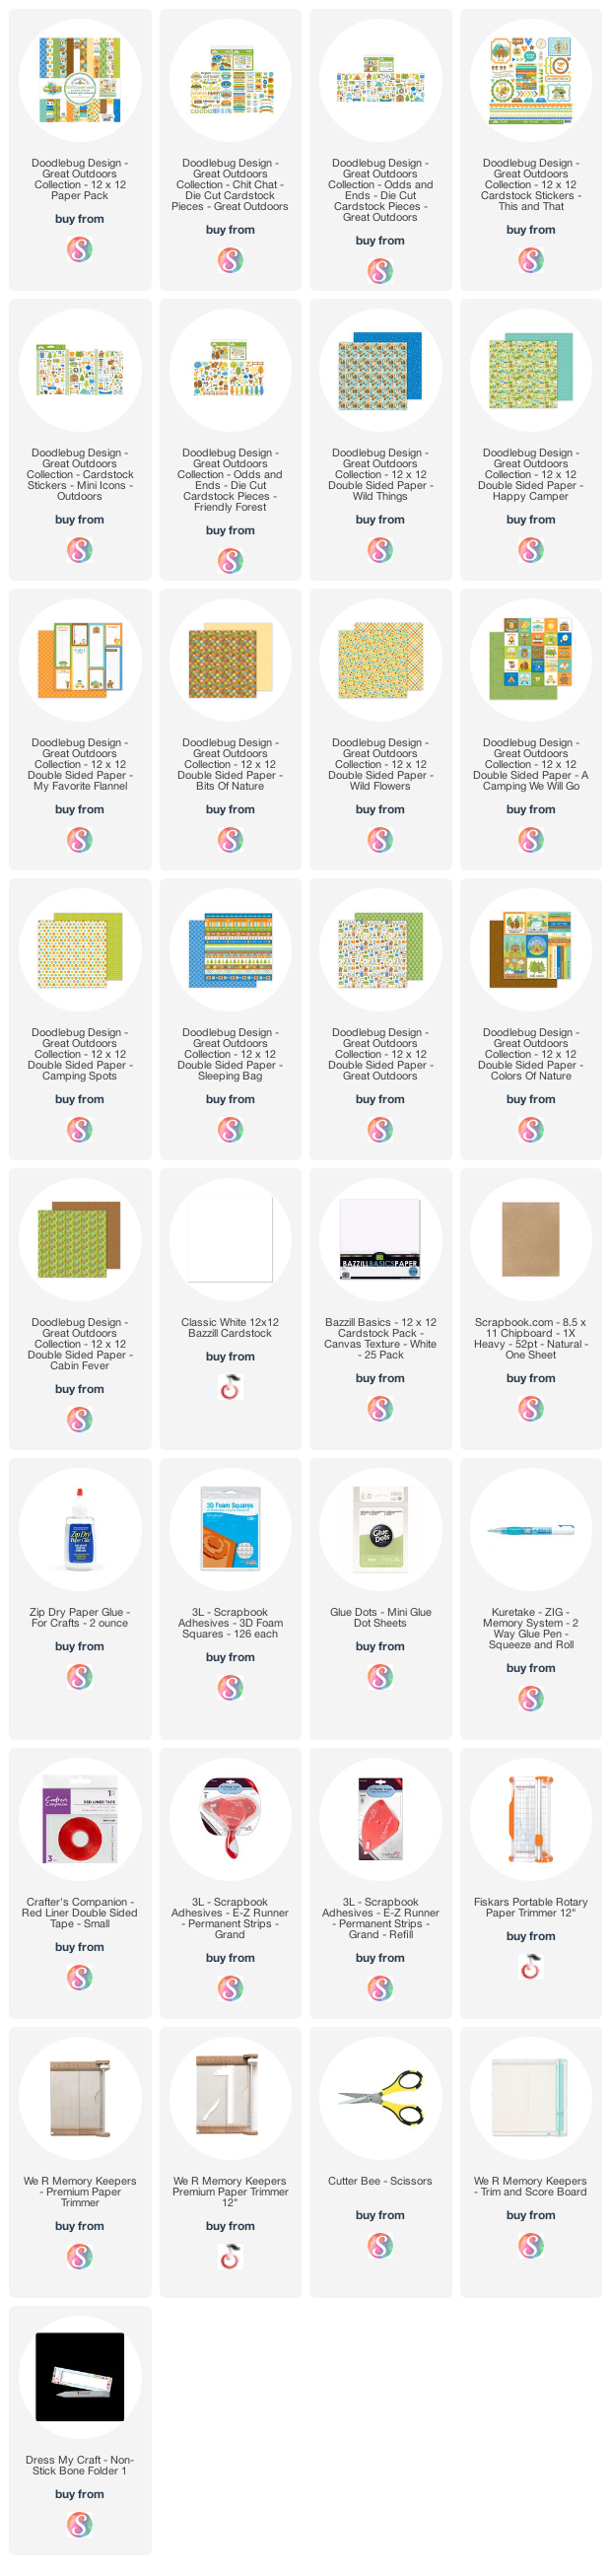
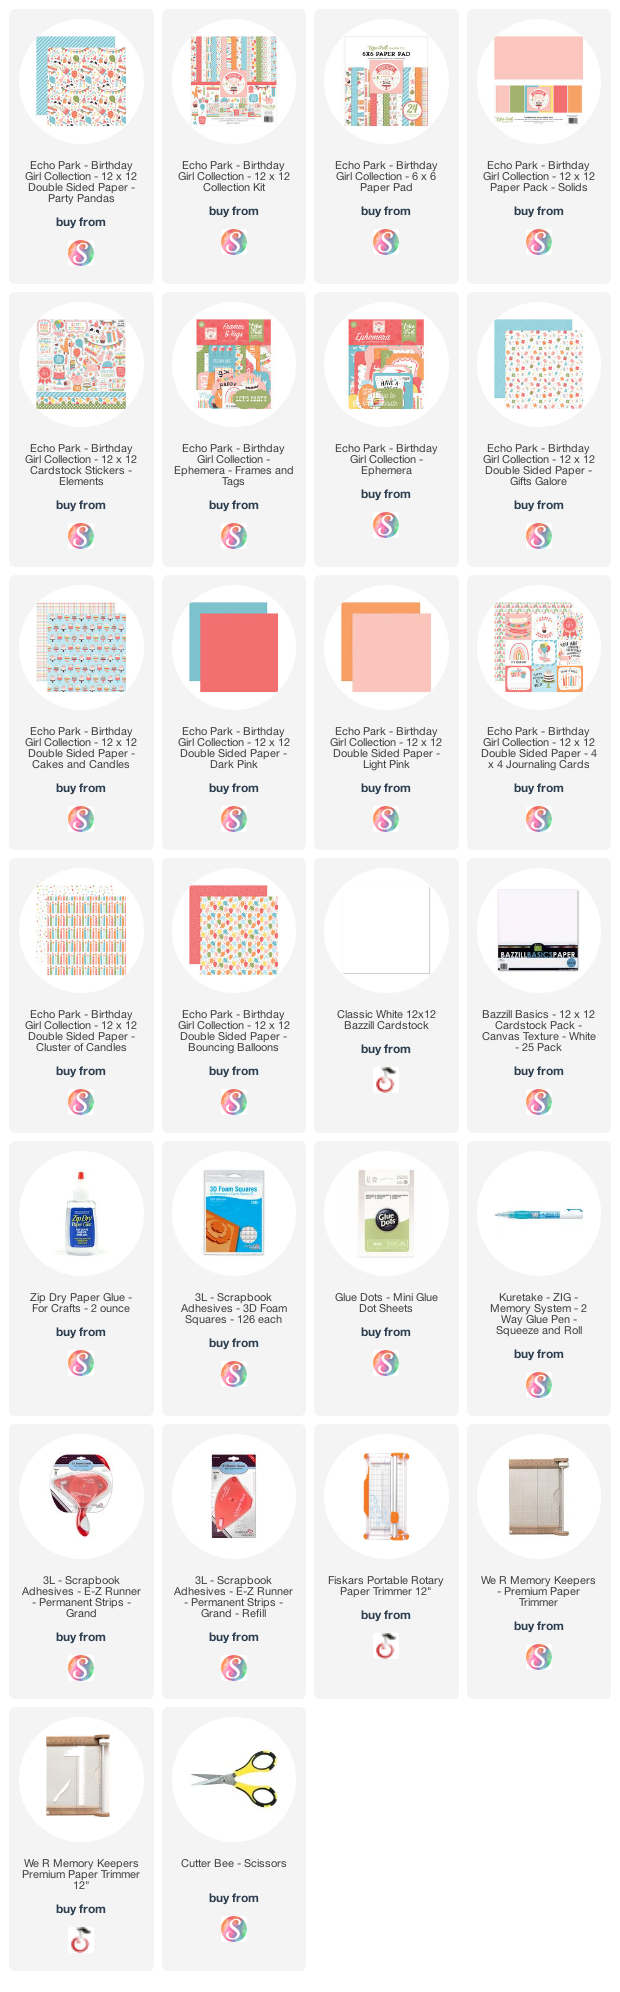
Supplies:
As an Amazon Associate, I earn from qualifying
purchases. Affiliate links are used in this post at no additional cost to you. I receive a
small amount of compensation when you click through and shop using the provided
links. This helps me to continue building my small business. Thank you!