
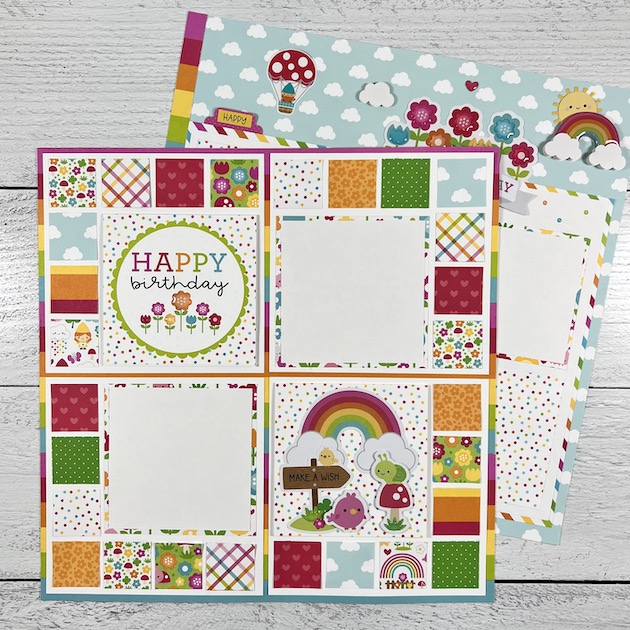
I created these layouts with Doodlebug's Over the Rainbow Collection and gave them a spring birthday theme. But, you could easily change out the 3 birthday wishes and use them for ANY occasion.
For the first page, I used the Over the Rainbow striped paper as the base and layered four white 5.75" x 5.75" squares on top. Then, I cut 28 squares (1.25" x 1.25") out of pretty patterned papers and added them around the edges (product links below).

Then, I made 4 photo mats that are perfect for pictures of a birthday party, dinner, the cake, decorations, presents, and fun with loved ones. The mats are all 4"x4" and I turned 2 into flippies!
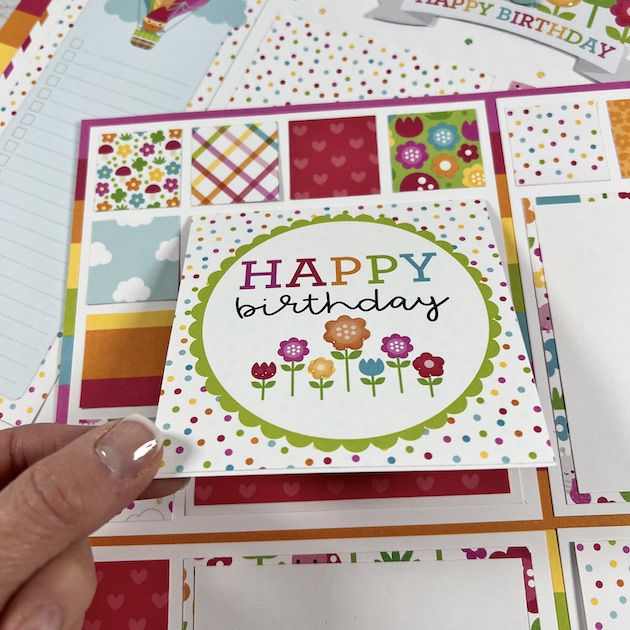
To make these flip-up cards, I
cut paper into 4"x8" pieces and scored/folded them at 4". You can add embellishments to the front or a 4x4 card like I did in the photo above. It's from the Sprinkles of Color print but again, you can swap out the card and easily change the theme.

For the second page, I added a strip of rainbow stripe paper down the left side to tie the two pages together. I also added 4 more photos mats and a cute spot for journaling. Use this to document the date, age, location, names, gifts, or just write about the fun event!
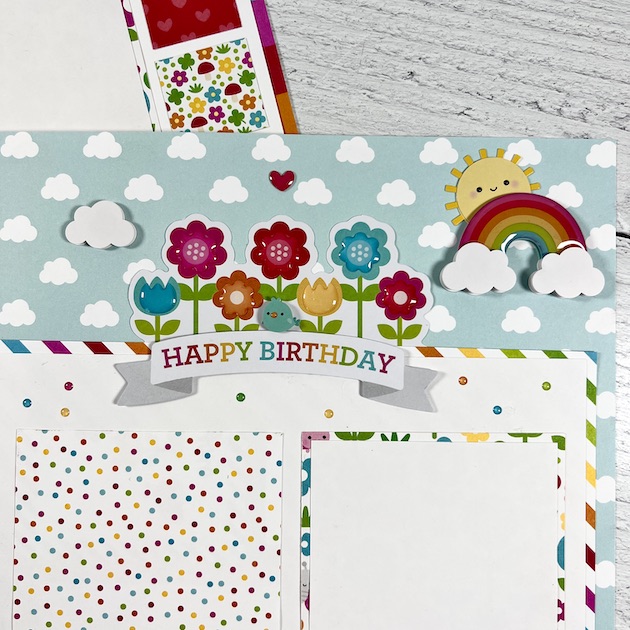
Finally, I added the Hello Sunshine Doodle-Pops in the top corner. I love these 3D stickers and honestly, I tend to hoard them. So ... yay, I used one, lol!
As it turns out, I created space for 10 photos on these 2 layouts. I'd say that's pretty good! Thanks for stopping by the blog today and I hope I gave you some new 12x12 ideas!
Supplies:
As an Amazon Associate, I earn from qualifying
purchases. Affiliate links are used in this post at no additional cost to you. I receive a
small amount of compensation when you click through and shop using the provided
links. This helps me to continue building my small business. Thank you!

No comments:
Post a Comment