
Hey guys! I'm over on Lori Whitlock's blog today sharing this pretty fall inspired card I created it with one of Lori's super fun cutting files called Window Flip Card Pumpkin. It's 4.25"x5.5" and it would be great for someone to welcome in the new season, as a thank you, a get well soon, or to let them know you're thinking of them.

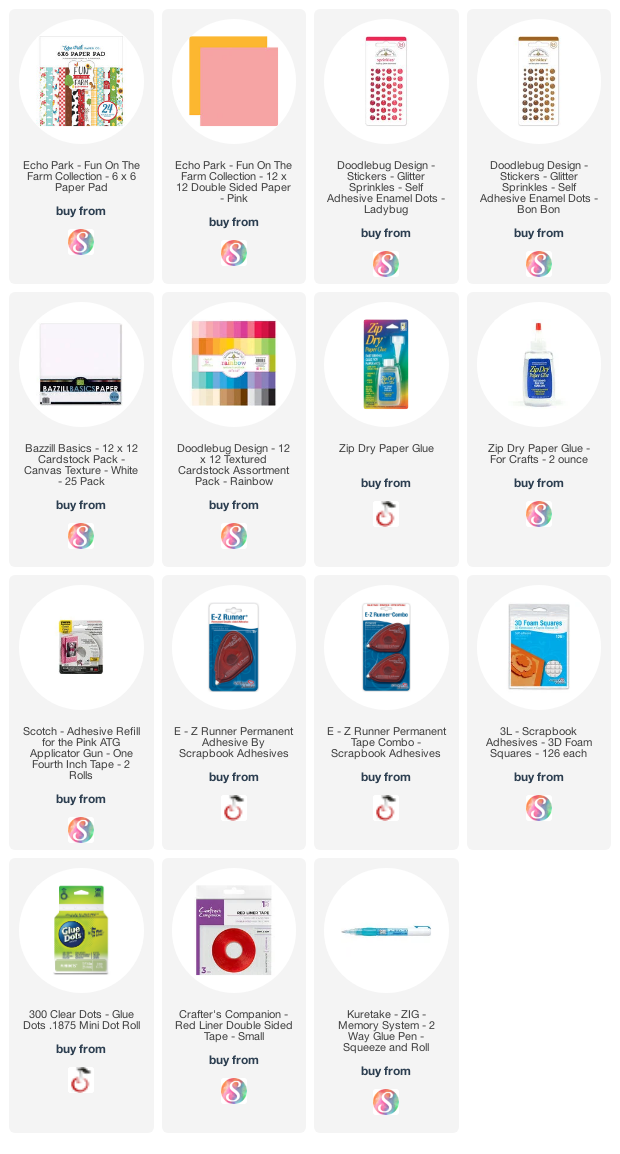
I started with white cardstock for the base, then chose some fall colored papers from Echo Park's Fun On The Farm 6x6 paper pad. I love the smaller sized prints for this project. I used a 12x12 orange solid from Echo Park's Easter Wishes Collection and a 12x12 yellow solid (flower) from the Fun on the Farm Collection.

Here's what it looks like opened up. I love how it props up for display. If you'll look closely, I added a glitter enamel dot to the yellow flower and some sprinkles for the berries on the branches. Such pretty little details.
The pumpkin card inside flips up to create an easel effect. Perfect for sitting out for display on your desk, an accent table in your home, or on a shelf as a little fall decor.
There is a simple tutorial for assembling the card here, but I took some close up pictures of the flip detail and copied some of Kathy's original instructions below.


Fold the card closed and press so that the top of the card is firmly attached to the folded section. Now, when you open the card, you will have a squared tube inside the card. Next, fold the small tab along the score line. Cover the smaller side of the tab with adhesive.


Adhere the pumpkin panel to the adhesive on the white tab and add foam tape as shown in the photo below.

How fun! I love this card and can't wait to give it to someone this season. You can find this cutting file in Lori's SVG shop or in the Silhouette Design store with the links below. Thanks for stopping by!

No comments:
Post a Comment