
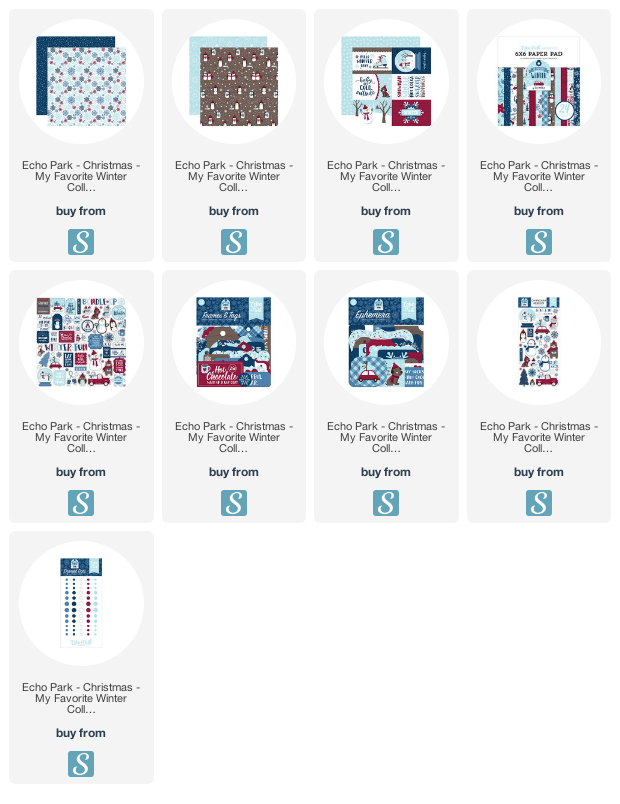
Hello friends! I have a great tutorial today showing you how to make this super cute Winter Waterfall Album! This is a fun and different way to save lots of fun photos in a smaller album. The paper I used was designed by Lori Whitlock for Echo Park. It's called My Favorite Winter and I just love the cute little snowmen in this collection! Take a look ....


When you open the folio-style album, there is a pocket on the left side and the waterfall pages on the right. The pocket is a great place to add journaling, extra photos or memorabilia like tickets or brochures.
Here are a few of the waterfall pages. They each flip up to reveal fun embellishments and lots of photo mats.


Here are the instructions for making a waterfall album like this. For simplicity, I didn't include directions for placement of each pattern paper or embellishment. That's where you can add your creative touch, but all of the measurements are included :) And remember ... any collection will work with this project! It doesn't have to be winter. Have fun!
Winter Waterfall Folio Tutorial


12x12 Dark Blue card stock:
- Cut blue card stock to 9” x 12”.
- Position card stock on your score board so that the 12” width is at the top.
- Score the card stock across left to right at .5”, 5.5”, 6.5” and 11.5”.
- Turn the paper 1/4 turn to the left and score at .5” and 8.5”.
- Trim out the corners as shown below.

12x12 Medium Weight Chipboard:
- Cut chipboard into 3 pieces — 8” x 4 3/4” (2), and 8”x 1”.
- Adhere the chipboard pieces to the blue card stock as shown. Be sure to leave some space between each piece so that the album cover will fold properly.
- Adhere the folds of the blue card stock down on the chipboard.

12x12 Dark Blue Card stock (not shown):
- Cut blue card stock to 10 3/4” x 7 3/4”.
- Adhere this piece over the chipboard on the inside of your album cover, making sure to crease the card stock so that it folds at the spine and covers the chipboard.
12x12 pattern paper:
- Cut the pattern paper for the inside cover — 4 5/8” x 7 3/4” (2), and 1” x 7 3/4”.
- Adhere them inside the cover as shown.

12x12 Pattern Paper / 12x12 Blue Card Stock / Ribbon:
- Cut the pattern paper for the outside cover — 4 5/8” x 7 3/4” (2).
- Cut a piece of pattern paper 1" x 7 3/4" for the spine.
- Cut another piece of pattern paper to 4” x 4 1/4”. Set aside.
- Adhere a 20” piece of ribbon across the center of the cover.
- Adhere the pattern paper over the blue card stock and ribbon as shown. Adhere the 1" piece down the spine also (not shown).

Cut Blue Card stock for inside of album:
- 4” x 7 1/2” — base of waterfall
- 4” x 4 1/2” (7) scored at 1/2” to create seven 4x4 squares.
- 4 1/4” (width) x 4 1/2” (height) — pocket (see next set of instructions to complete pocket)
Create the Pocket:
- To trim the corner of the blue card stock for the pocket, measure 3/4″ over from the top left hand edge and make a mark.
- From the right hand bottom edge, measure up 3/4″ and make a mark.
- Draw a line from mark to mark and cut off the corner piece.
- Locate the pattern paper you set aside earlier. Lay the pattern side up and match the long and short sides of the pattern sheet, with the long and short sides of the blue pocket piece.
- Once you are sure you have the correct sides matched up, measure 1/2″ over from the left hand top edge and make a mark. From the right hand bottom edge, measure up 1/2″ and make a mark.
- Draw a line from mark to mark and cut off the corner piece. Adhere the card stock and pattern pieces together.
- Adhere the pocket to the inside left panel of your album ... be sure to put adhesive on the left and bottom sides only so that your inserts will slide behind.

Assemble the Waterfall pieces:
- Apply glue to the scored and folded tab of each 4x4 square. Adhere the first “tab” along the top edge of the waterfall base.
- Adhere the second square by lining the “tab” up along the bottom edge of the previous tab. Be sure not to overlap the edge of the previous square.
- Adhere the waterfall element to the inside right panel of your album.


6x6 Paper Pad:
- Cut 6x6 pattern paper for each of the squares — 3 3/4” x 3 3/4” (15)
- Cut 6x6 pattern paper for the spaces in between the squares — 3/8” x 3 3/4” (7)

I hope this gives you some fun ideas for creating a unique mini. Have fun mixing and matching papers and embellishments ... that's always my favorite part!
Also, to see my Christmas version of this mini album click HERE.
Supplies: As an Amazon Associate, I earn from qualifying
purchases. Affiliate links are used in this
post at no additional cost to you. I receive a small amount of compensation
when you click through and shop using the provided links. This helps me to
continue building my small business. Thank you!

Cant wait to make some of these for gifts! Thanks for sharing!
ReplyDeleteAnnette Schwab
Totally bookmarking this one! Love the new website <3
ReplyDeleteThank you for the
ReplyDeleteinstructions. It
looks awesome.
Carla from Utah
Thank you so much for the directions.. can't wait to see what else you have in store for us ✂️✂️
ReplyDelete