To create the basket, I used We R Memory's Gift Box Punch Board, the 2-edge doily punch and paper from their Hello Darling collection. I also used some white card stock and ribbon from American Crafts.
To start, I used the gift box punch board and a piece of 12x12 white card stock to create a 4x4x4 box. I followed the easy XL directions on the board.
Once my paper was scored and punched, I adhered it together to form my box, making sure to fold my top flaps in and adhere them to the inside.
Next, I cut a piece of green Hello Darling paper into nine 3 3/4” x 3 3/4” squares, inked the edges, and adhered all of the pieces around the inside and outside of my box. Then I added double-sided adhesive (link below) around the top and bottom edges as shown in the photo below.
To create the basket-like strips, I used the 2-edge doily punch (set to punch 2 edges) to cut a piece of 12x12 pink Hello Darling paper into six 12” strips. I then cut each strip into 4 1/2” pieces. I ended up with 12 pieces and some left over scraps. I then punched 2 more 12” pink strips to use on both sides of the basket’s handle.
I adhered the 12 punched sections to 12 white card stock strips measuring 1 1/8” x 4 1/2”. I also adhered the 12” pink strips to both sides of a white card stock strip measuring 1 1/8” x 12”. I trimmed the 12” handle down to 9” and adhered it to the outside of my box. I then adhered the top and bottom edges of the 4 1/2” strips along the double-sided adhesive on each side of my box, creating a bend with my fingers as I positioned each piece.
To finish my basket, I added ribbon around the top and bottom edges of my box and a pink bow to each side. This little basket will be perfect for a gift or home decor. Mine is now filled with candy to welcome guests by my front door.
Supplies: Gift Box Punch Board, 2-edge doily punch, Hello Darling Greetings paper, Hello Darling Gracious paper, pink American Crafts grosgrain ribbon and white cardstock, white flower-shaped button.
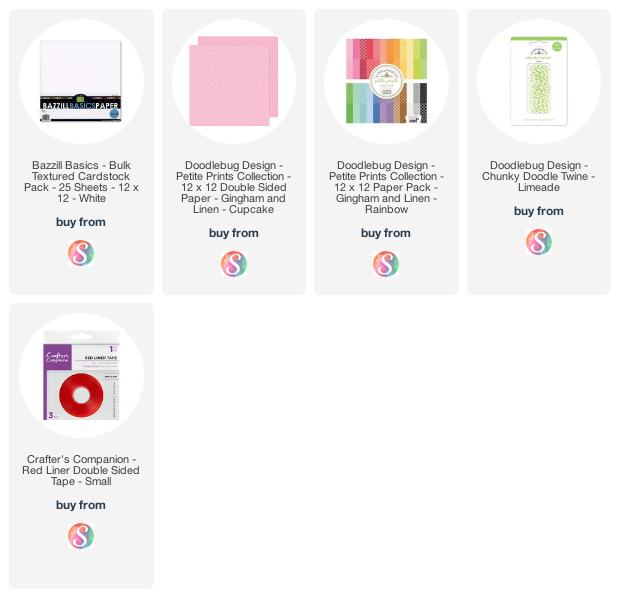
Below I've linked to Doodlebug's Petite Print, Gingham & Linen paper in cupcake that would be a great substitute.
Supplies: Affiliate links are used in this
post at no additional cost to you. I receive a small amount of compensation
when you click through and shop using the provided links. This helps me to
continue building my small business. Thank you!


Blog * Facebook * Instagram * Pinterest


Super cute! :) And creative! I see lots of people pinned your project! Yay! :)
ReplyDelete