
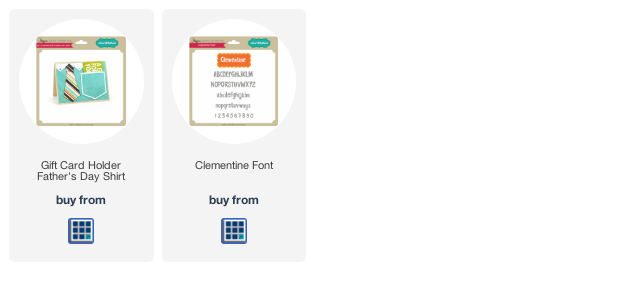
Hi everyone! With Father's Day coming up, I thought I'd share a great card / gift card holder that I made AND the tutorial. It's really cute and has a
pocket that's perfect for a gift card to Dad's favorite store or restaurant. I used one of Lori Whitlock's cutting files called Gift Card Holder Father's Day Shirt and the Echo Park, That's My Boy Collection also designed by Lori. (Links below.)
For the Dad title, I used a technique for making a welded
outline that's pretty cool and I'm sharing all the steps so you can do it too. To see this post on Lori Whitlock's blog, click here.

Here are the step-by-step instructions for creating a welded outline title like the one I made for this pocket:
Step 1: Choose a thick, chunky font and spread the letters out a bit. I used Lori's font called LW Clementine (link below).

Step 2: Highlight your word and ungroup the letters (right click, ungroup)

Step: 3: Highlight the letters and go to the "Offset" window. Hit Offset and use the sliding bar to adjust the size. I set mine around 0.025. (You do not have to color fill your shape...I just did this to show you more details.

Step 4: Once your offset is done,
highlight each letter individually and group the letter with the offset (right
click, group). Then highlight each letter, right click, and hit
"Make Compound Path".

Step 5: Now move your letters so that they overlap each other (to keep them in a straight line, highlight them and use your right or left arrow to move them). Once they are overlapped the way you want them, highlight the whole word, right click and hit weld.

Here is another example of how I used this technique on a layout. For the "SMILE" I overlapped the letters, and even rotated them a bit before welding.
(1).png)
Thanks for stopping by! I hope you have fun with this technique!
Below are the links to Lori's cutting files & supplies I used. Happy scrappin'!

Supplies:
As an Amazon Associate, I earn from qualifying
purchases. Affiliate links are used in this post at no additional cost to you. I receive a
small amount of compensation when you click through and shop using the provided
links. This helps me to continue building my small business. Thank you!
No comments:
Post a Comment