Thursday, July 9, 2015

12x12 Sun Kissed Scrapbook Page with Lori Whitlock

Hey guys! Today, I'm sharing my latest Lori Whitlock Design Team Project. It's an easy breezy 12x12 summer scrapbook page that's perfect for photos of a tropical vacation, a cruise, or a day at the beach! I created it with the Echo Park, I Love Sunshine Collection designed by Lori and some of her amazing cutting files. 


To make this layout, I started with the solid blue card stock that's part of the collection. On the left, I added a vertical strip of the Sunshine Beach paper and added 3 square photo mats on top made with the Sun Beams paper. I created a 4th photo mat with the Blue Sky striped print and adhered that on the right.
 
Now the really fun part ... embellishing! On the left, I added 2 pinwheel stickers from the 12x12 Elements sticker sheet. Then, I created 2 banners with Lori's Friendly Font cutting file (link below) and added them in between the green mats. And finally, I decorated with some colorful enamel dots. 

On the right side, I used Lori's fabulous Island Paradise Set cutting file (link below). I love this file! It has so many great summer images and words to choose from. I cut out the Sun Kissed title, the palm trees, and the island - then added one of the 3x4 cards from the I Love Sunshine Collection next to it. 

Well, that's it for me! Below are the links for the products used. Thanks for stopping by the blog todayHop over to my shop next to see my latest kits, premades, instructions, supplies, enamel pins, and shirts!
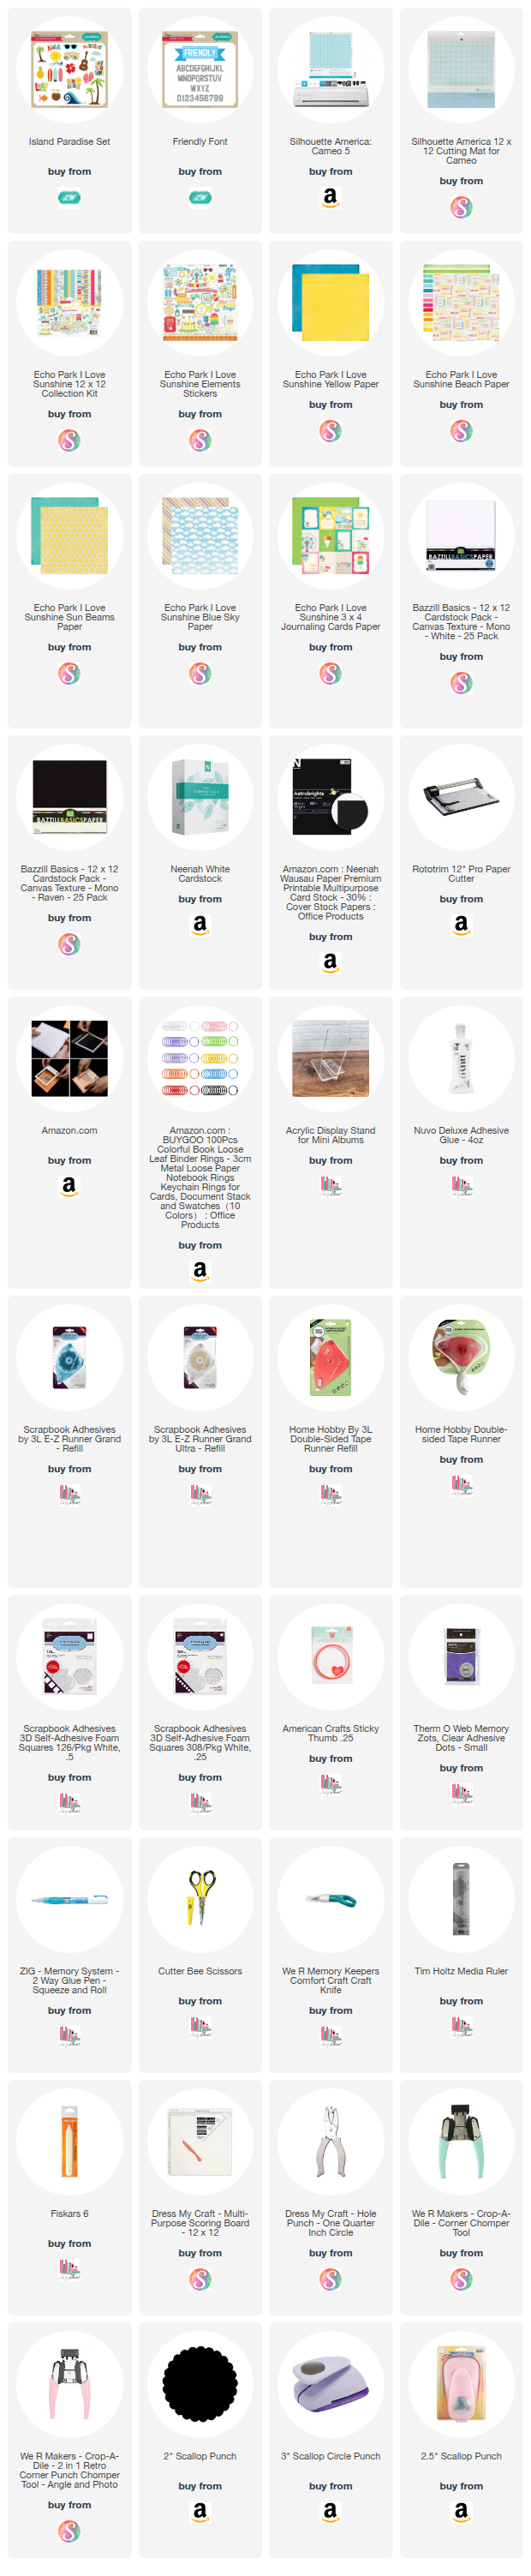
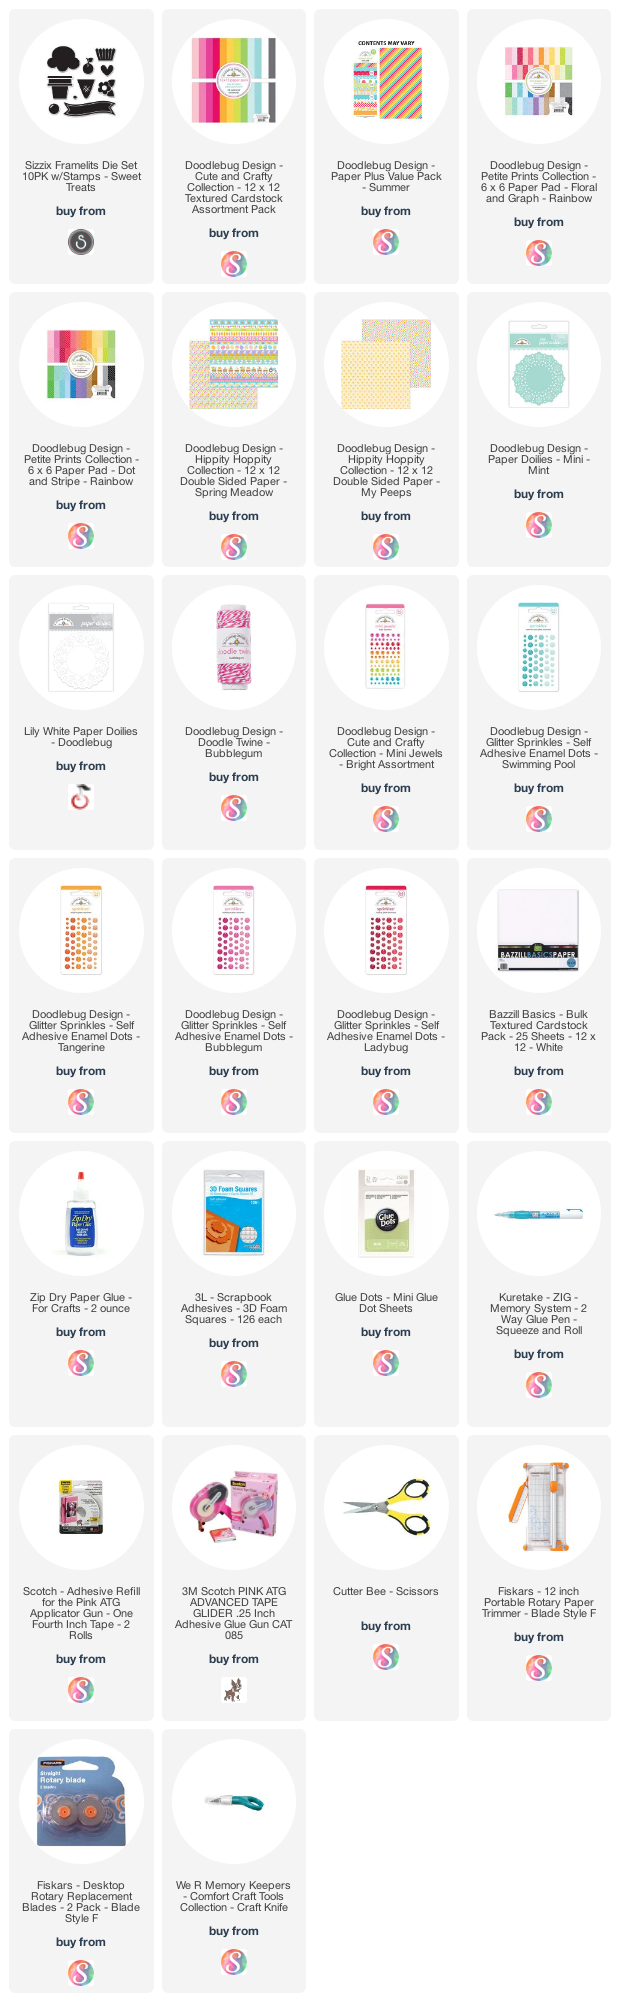
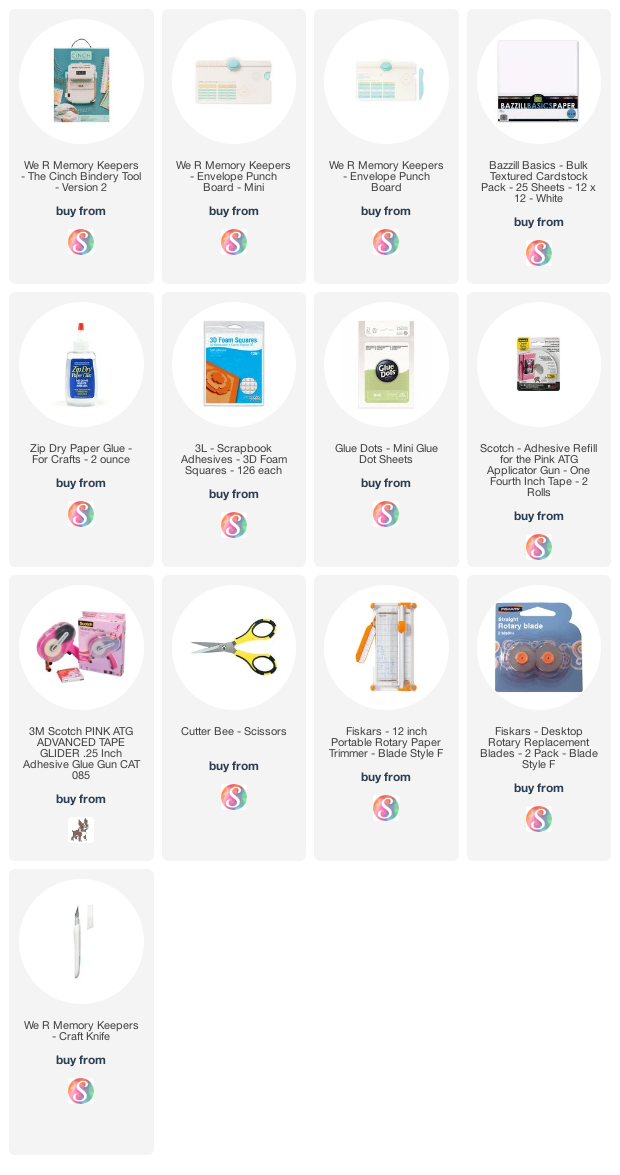
SuppliesAs an Amazon Associate, I earn from qualifying purchases.  Affiliate links are used in this post at no additional cost to you. I receive a small amount of compensation when you click through and shop using the provided links. This helps me to continue building my small business. Thank you!


Tuesday, July 7, 2015

Ice Cream Greeting Cards with Doodlebug and Sizzix

Hello friends! The Doodlebug design team is teaming up with Sizzix this week. Have you seen all of the cute new stamps and dies that Doodlebug has created with Sizzix? They're adorable! So today, I'm sharing a stamp and die greeting card set that I made for some of my friends and family.

I designed these 4 cards with Doodlebug's Sunkissed Collection and the Sweet Treats Framelits Die Set 10pk with Stamps (link below).

For this first card, I used stamps and dies in combination to create the pink ice cream cone. And since a little bling is always fun, I used a red Doodlebug jewel for the cherry. The banners were cut with the dies using prints from the 6x6 paper pad.


For this next card, I die cut the ice cream out of three different Sunkissed papers. To create the cone, I stamped the image, then used the matching die to cut the cone out perfectly. No fussy cutting!

Here, I paired the cupcake and banner stamps with one of Doodlebug's adorable lily white doilies.

And finally, a colorful little row of flowers and enamel dots complete the last card. Below I've added links to the products used. I hope you have fun with this and happy scrappin'!

 
SuppliesAs an Amazon Associate, I earn from qualifying purchases. Affiliate links are used in this post at no additional cost to you. I receive a small amount of compensation when you click through and shop using the provided links. This helps me to continue building my small business. Thank you!

Monday, July 6, 2015

Cinch Jet Set Travel Journal

Hi everyone, today I have a great vacation project posted over on We R Memory Keepers blog. If you plan to travel this summer, create this easy travel journal to take with you!  Record your memories, tuck in some photos, keep memorabilia in the envelopes, and your trip will be saved and easy to share.  


To create the journal, I used the Cinch Binding Tool, the Envelope Punch Board and the Cinch Journal Kit. The Jet Set paper is an older We R collection from my stash.  I didn’t need much paper for this journal so using up scraps from the past was perfect!

 
To start, I created some envelopes of various sizes using the envelope punch board. This is very easy … just follow the size instructions right on the board!

Once the envelopes were created, I decorated the chipboard covers that are included in the Cinch Journal kit.  When my covers were embellished, I punched my binding holes using my Cinch tool. Easy directions are also included right on the Cinch, as well as in the packaging for the journal kit.  


Next, I punched binding holes in all of my journaling pages, envelopes, and accent pieces.


Once all of my binding holes were created, I added my binding wire to all the pieces to create my finished journal.  


I hope this has given you some ideas for a travel journal for your summer vacation!  Make them for the kids too!  Theirs could include pages to keep them busy during the trip, space for their photos and notes, or even coloring pages.

Be sure to like Artsy Albums on our Facebook page to stay up-to-date on our tutorials, new kits, sales, and giveaways! Thanks for stopping by!
 
 
Supplies: Affiliate links are used in this post at no additional cost to you. I receive a small amount of compensation when you click through and shop using the provided links. This helps me to continue building my small business. Thank you!