
Hi everyone! I'm excited to share my latest Doodlebug Design Team project and the tutorial with you! It's a really cute candy jar that makes a great gift for friends, teachers, or co-workers! I'll also show you how to make the layered title piece using Silhouette software. So ... let's get started!


Step 6: Move the outer shape away from the tiny pieces. Highlight the little bits and delete them.

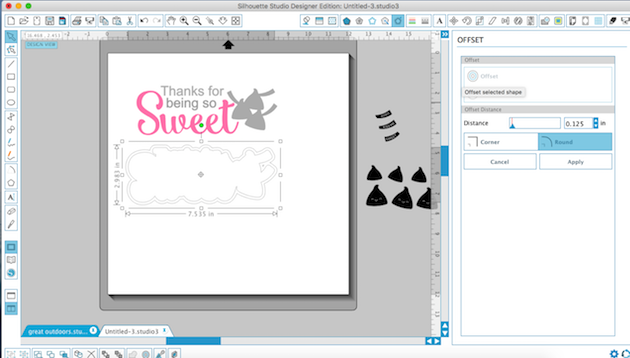 |
Step 8: Now that you have your base white background layer, go back to the title, ungroup it, and move the SWEET and KISSES off to the side. Make sure the "Thanks for being so" is set to NO CUT and position your white background layer over them. Use the Silhouette software to do a Print and Cut of the shape. You will also want to Print and Cut the little tags for the candy. (Make sure the words on the tags are also set to NO CUT) |


For the card, I cut the LOVE YOU title at the bottom of a 4" x 5.25" piece of Cream and Sugar pattern paper. I adhered this to a white card base and then layered on the HEART and POLAROID frame cut files and a little 2x2 image from 6x6 pattern paper.
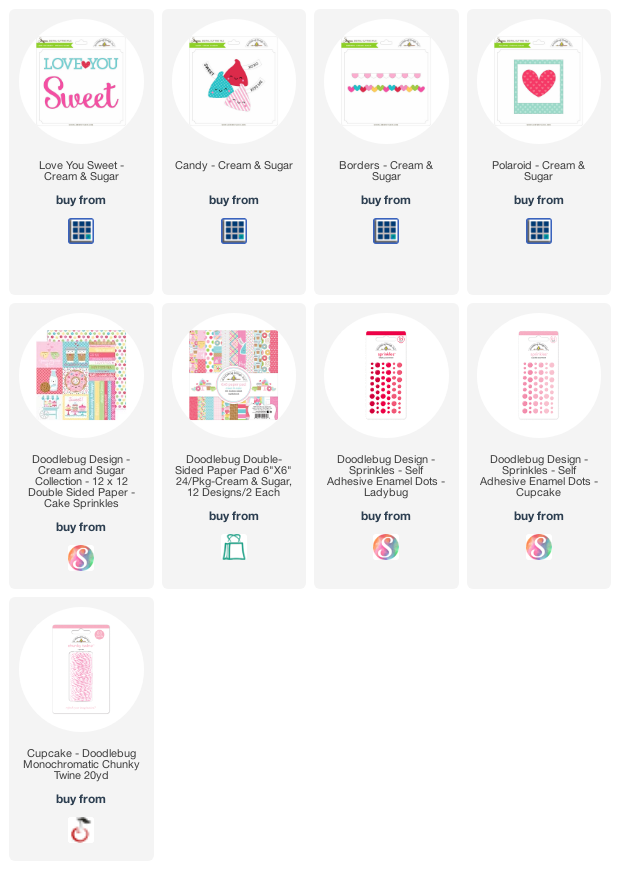
Here are the Doodlebug Pixie Sticks and the links to some of the Doodlebug goodies I used for these projects:
Supplies:
Affiliate links are used in this post at no additional cost to you. (loriwhitlock.com is not an affiliate link.) I receive a
small amount of compensation when you click through and shop using the provided
links. This helps me to continue building my small business. Thank you!
 Thank you so much for checking out this project today! Be sure to check out all of the cute Cream and Sugar cut files available in the Silhouette Online Store and in Lori Whitlock's SVG shop.

No comments:
Post a Comment