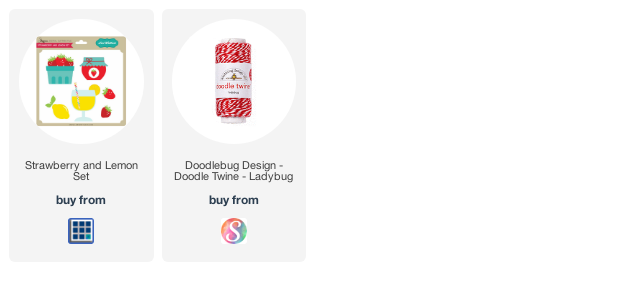
Hi guys, I’m happy to be back over on Lori Whitlock's blog today with a fun tutorial for making cards out of her cute new strawberry files. I’ll show you two different card styles and lots of “how to” pictures. So ... let’s get started!
These adorable strawberry designs are actually “print & cut” designs, but we are going to cut all of the pieces for a more layered look.
Let’s start with the first flip up Strawberry Jar card. First, I opened the design and created an offset to make my card base. I set my offset around the jar to 0.125.
Once I had the offset for the jar, I created a mirror image. I went to the Replicate button and clicked “Mirror Above”.
I moved my two jars tops together and welded them so that I could fold the shape in half to create the card base. I also used the type tool to type my sentiment for a print and cut. (You can search Lori’s site for lots of Print & Cut tutorials if needed). When you are ready to cut your shape, be sure that “cut edge” is highlighted in your cut setting window.
Once my white card base was cut, I cut out the other pieces and layered them on the front of the card. Again, since this was originally created as a print design, you will want to be sure that “cut edge” is highlighted in your cut setting window before cutting out each piece. By the way, the paper I used is from an Echo Park collection called Jack & Jill (Jill) designed by Lori also!
The second design is a pull-out card. First, I opened the design and ungrouped all of my pieces.
I located the solid “basket” piece first and moved everything else off of my software mat. Next, I created an internal offset (setting .20) so that I would have a card base that would be small enough to slide back into the basket.
Once I had the inset piece for the basket, I created an offset on each of the three strawberries so that when I cut the card, the strawberries would have a white edge. I then welded the strawberry offsets to my basket inset. To simplify, you are welding a smaller basket and three larger strawberries together. (Ignore my second set of strawberries in the photo … you don’t need them).
Once you have the strawberries welded to your basket inset, you can add a sentiment with the type tool if desired and then do a print and cut for the base of the card. For the card pocket, locate the original blue “basket” piece and create a mirror image above the shape.
Move the pieces so that they touch along the future fold line. Weld them together and cut the piece out. Now you should have a basket piece that looks like the photo below. Fold the piece in half and add adhesive along the right and left sides to create a pocket. Leave the top free of adhesive so that the white card you created in previous steps can slide down into the pocket.
Finally, cut out the remaining pieces of the basket and strawberries and adhere them to your base card and pocket. So Cute!
I hope you found this tutorial helpful. As always, thanks so much for stopping by!
Supplies: Affiliate links are used in this
post at no additional cost to you. (loriwhitlock.com is not an affiliate.) I receive a small amount of compensation
when you click through and shop using the provided links. This helps me to
continue building my small business. Thank you!


These are adorable! The paper is perfect for these.
ReplyDeleteSo cute, wonderful cards!!!
ReplyDeleteThis is so berry cute! I'm sharing it with my daughter!
ReplyDelete