Thursday, March 30, 2017

Summer Beach Scrapbook Album

Hello friends! Check out this newbie. This album will be a wonderful keepsake for any of your summer, beach, and vacation memories!

Colorful, summer themed paper, pockets, embellishments, and lots of space for photos -- these are just a few of the things that adorn the pages of this fun album. The cover is covered with paper and embellishments from Carta Bella called "Beach Day". There are 12 (6 front & back) layered card stock pages, including 3 pockets and one fold-out page for extra space.

The album measures approximately 6x8" and includes tons of interactive elements and embellishments. You receive pre-cut background papers and photos mats, full color instructions, and all of the following embellishments: chipboard, journaling cards, ribbon, stickers, and enamel dots.


I always use only acid-free, photo-safe supplies. This album would make a wonderful gift for family or friends, or just to keep all of your own summer memories in. The album is just the right size for a purse, to carry and share wonderful moments, or to display on a shelf, coffee table, or your desk at work! It will hold at least 28 photos.

To stay up to date on new product, coupons, and giveaways..."Like" Artsy Albums on Facebook at: www.facebook.com/artsyalbums and Instagram @artsyalbums

As always, thank you so much for visiting my shop! My goal is to create scrapbooks, memory albums, and kits that encourage people to share their stories, preserve their photos, and document their everyday lives. 


Blog * Shop * Facebook * Instagram * Pinterest

Friday, March 17, 2017

Doodlebug Collectible Pin Wall Display

Hi everyone!  It's Traci and I'm back to share another project for my craft room with you.  As you may remember from my last post (wall calendar with Daily Doodles), I recently moved into a new craft space and I'm having lots of fun adding things to my walls.  So when the pin challenge came up, I decided to create some wall displays that I can add to as I collect more pins.

This is a 12x12 display. I started with a piece of white card stock and layered the following pieces on top: (some product links below)

Pistachio Gingham Prints 11 3/4" x 11 3/4"
(product link below)
Spring-A-Ling double-sided card stock 11 1/2" x 11 1/2"
Bubblegum Gingham Prints (product link below) -- cut on my CAMEO machine. (This is an offset of the cutting file).
White card stock -- cut on my CAMEO machine.  Link Square Lace Background 11" square
May Flowers Dot paper -- cut into 2" squares and adhered behind each square.

I adhered everything to a piece of 12x12 corrugated cardboard cut from a packing box.

Once I pushed each pin through the paper and card board, I attached the pin's original card with the pin backing.  This is so I can remember the names, but also so that I don't lose the original card.

I added my display to a white 12x12 shadowbox frame (link below). I used this one because it has adjustable inserts to change depth as needed.


I went ahead and made two more frames for my room because I know I'll be adding more pins to my collection.  

Thanks for checking out my project today!  Be sure to check back next week, when the team will have more project ideas for these adorable collectible pins!


Supplies: Affiliate links are used in this post at no additional cost to you. I receive a small amount of compensation when you click through and shop using the provided links. This helps me to continue building my small business. Thank you!

Thursday, March 16, 2017

OOAK New York Travel Scrapbook Album

Hi friends, just hopping on the blog this morning to share a OOAK mini album I created for a client this week. She wanted a travel scrapbook for an upcoming trip to New York and I had just the collections for it. I sourced a few extra stickers of cityscapes that were perfect, and I just love the way it turned out. I hope she does too!

I designed this with a 6x8 inch chipboard binder album by The Paper Studio and two paper collections - PhotoPlay's Boarding Pass and Kaisercraft's Wanderlust (links below).

Both collections had rich fall color schemes and went beautifully together!

I added an interactive plaid flippie to the page above and a couple of those city inspired embellishments.

Here's what the folding element looks like opened - what a great little journaling spot.

I made a wonderful pocket page for tickets, maps, postcards, brochures, hotel key cards, an itinerary, notes, or extra photos.

These pages are perfect for pictures of the city, favorite sights, friends, family, a favorite restaurant, a museum, a Broadway show, shopping, and all the fun moments from the trip. On the right, there's another cute flippie ...

... with another great journaling spot underneath! Such a fun album to work on.

Below are the product links used to make this mini. Thanks for stopping by and have a great day

SuppliesAs an Amazon Associate, I earn from qualifying purchases.  Affiliate links are used in this post at no additional cost to you. I receive a small amount of compensation when you click through and shop using some of the provided links. This helps me to continue building my small business. Thank you!
Blog * Shop * Facebook * Instagram * Pinterest

Tuesday, March 14, 2017

Flower Box Card - March Blog Hop with Lori Whitlock


Hey there everyone! Today is Lori Whitlock's March Blog Hop and my blog is the first stop on the hop. But be sure to visit Lori's site because she has a sale, a giveaway and an awesome freebie for you!

For my project today, I created one of Lori's adorable box cards that's just perfect for spring! Take a look ...


I used her cutting file called A2 Box Card Flower Bee and the beautiful Echo Park Celebrate Spring collection (also designed by Lori). Isn't this so cute? I just love the flower and little bee sticking out the top!

The pattern papers in this collection are so colorful and filled with flowers, bees, and butterflies. Check out the little rain drops in the background! This card is a sweet way to send a little happiness to friends and family.


Like all of Lori's amazing cards, this folds flat for tucking into an envelope or storing as a sweet memento. Below are the product links for this project. Thanks so much for stopping by!
 
Now, back to the hop .... your next stop is Kathy Skou's site!

Hop Order:
Traci Penrod .. you are here
KATHY SKOU .. your next stop
Courtney Lee 
Anita MulCahey

 
Supplies: Affiliate links are used in this post at no additional cost to you. (loriwhitlock.com is not an affiliate site.) I receive a small amount of compensation when you click through and shop using the provided links. This helps me to continue building my small business. Thank you!


Tuesday, March 7, 2017

Doodlebug Magnetic Wall Calendar

Hi friends! Today, I'm sharing my Doodlebug Calendar Challenge project with you. I've been needing a visual reminder of due dates and to do lists on the wall near my desk. So, when I learned about this design team challenge, I was excited to create a large magnetic calendar for my room. 

To make this, I adhered 5 sheets of 12x12 Daily Doodles calendar paper and 1 sheet of Lots of Love double-sided cardstock to the front of a 24"x36" magnetic board purchased from an office supply store. I started out with 6 calendar sheets, but then decided to add the cute print for lists. (Product links below.)


I made custom labels for each of my lists and matted them on the Petite Prints Linen and Gingham in Stone Gray. Then, I glued them directly onto the 12x12 print at the top of each section.
 
 
Although I wanted my calendar to have glass on the front, I quickly realized that the magnets wouldn't work through glass, so I moved on to 12x12 sheets of clear acetate (link below). Before adhering my acetate over the calendar pages, I added a few stickers that I wanted permanently under the plastic. Then, using tiny glue dots in each corner, I attached the 6 sheets of acetate over each calendar and the list sheet. 

 
I used the Daily Doodles month stickers (link below) to create magnetic labels for each page. I added a piece of heavy magnetic tape to the back of each so they can be changed out as needed.
 

I added more magnetic tape to some die cuts and stickers from the Spring Things and Cream and Sugar collections but ... you could use ANY collection. They look so cute decorating the different spaces.

I used a black dry erase marker to add the dates, events, and all my notes and reminders in the bottom section. These can easily be wiped off and updated!

To finish it off, I added glitter sprinkles on top of the acetate to dress up my list labels. Then, I used some pretty blue washi tape around the edge of the frame.

Keep in mind ... you can use ANY collection for this project. Have fun with it and mix and match die cuts, prints, and stickers depending on the month or season.  

I hope I've inspired you with some creative and wonderful Doodlebug products. Have a great day!

 
Blog * Facebook * Instagram * Pinterest
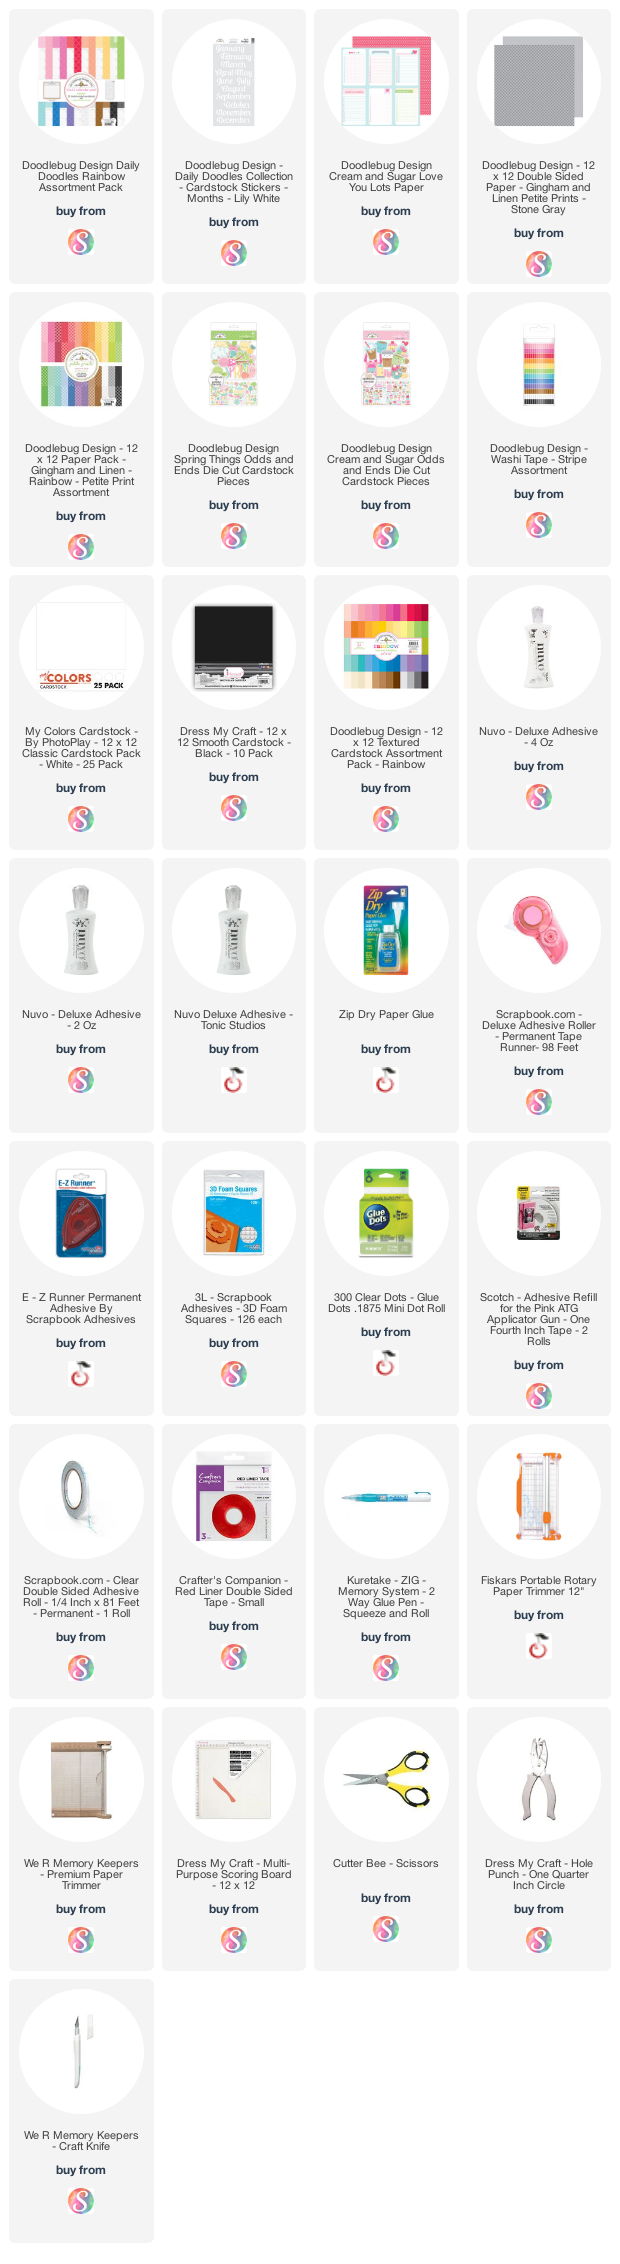
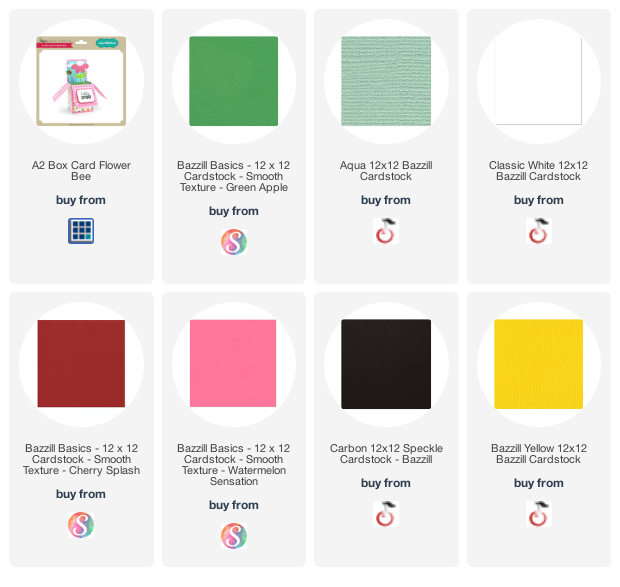
Supplies: Affiliate links are used in this post at no additional cost to you. I receive a small amount of compensation when you click through and shop using the provided links. This helps me to continue building my small business. Thank you!

Sunday, March 5, 2017

Disney and Travel Mini Album and 12x12 Page Kits

Hey guys! With travel plans for spring break and summer right around the corner, I want to make scrapbooking those wonderful trips fun and easy. So, I have lots of DIY scrapbook kits that are perfect for all your vacation memories. 

Are you headed to see Mickey? If so, you'll be taking lots of pictures. Our Disney scrapbook kits make saving and sharing those memories so easy!

First, my 6x8 inch mini album titled Mouse Memories. It's perfect for all your Disney vacation photos ...

To purchase the instructions for this album visit:

This project is perfect for saving pictures of the theme park, castle, thrilling rides, favorite characters, shows, parades, fireworks, mouse ears, and all your fun with family and friends. It's also great for memorabilia like character autographs, park maps, tickets, brochures, and notes.

Next up, is my 12x12 Magic Vacation 8-page Layout Kit ...

I created these colorful Disney themed pages with the Echo Park, Magical Adventure Collection. These 12x12 layouts will make a wonderful addition to ANY album and  they will highlight all your fun mouse-inspired memories!


Next, my 12x12 Travel Adventures 8-Page Layout Kit ...

Have you got other travel plans that don't include a mouse or theme park? I got you! This next page kit is great for ANY type of vacation.

I designed these pages with the PhotoPlay, Boarding Pass Collection and they're perfect for photos of a road trip, traveling across country, sight seeing, a fun weekend in the city, a cruise, a trip to the mountains, or flying around the world!

Hop over to my shop to see these fun pages and the newest kits, premades, and supplies! As always, thanks so much for stopping by!


Blog * Shop * Facebook * Instagram * Pinterest