Friday, March 13, 2015

Easter Scrapbook Layout with CREATE Magazine

Hello friends! I was thrilled to be asked, along with the entire Doodlebug Design Team, to submit a project for the March issue of CREATE magazine by Scrapbook Generation. Each month, CREATE features a manufacturer and provides lots of ideas for using sketches designed by Allison Davis. This month was all about Doodlebug! Check out each of the team members takes on two scrapbook sketches, a tag, and a card.

I submitted this Easter 12x12 layout that includes my adorable niece. You can find this on page 94 in the March issue! 😊


I mixed and matched a few products from the Doodlebug Easter Parade and Hello Sunshine Collection. I just love the pretty spring colors of this. 

The background paper is a 12x12 gingham in swimming pool. I layered on a petite prints dot and stripe in the same color, then added that adorable bunny print called Bitty Bunnies (Easter Parade). How stinkin' cute is that?!

I made a tag and that became the perfect spot to journal the date. Then it was time to play with those super cute embellishments! The bunny rabbit, carrot, fence, branch, bird and birdhouses are from the Easter Parade icon stickers.


The yellow flower and the smiling sun are from the Hello Sunshine icon stickers and of course, I had to add some glitter enamel dots. I think it turned out pretty sweet! To see this issue of CREATE Magazine click on the link below and happy scrappin'!


Thursday, March 12, 2015

Silhouette Tutorial for Text Wrapping

Project Created for:  Lori Whitlock Designs 
Silhouette Tutorial:  Wrapping Text around a Circle

Hi everyone,
One of the most common Silhouette questions I get asked is how to wrap words or phrases around a circle or other shape for a print and cut design. Here some easy steps to follow to do this....

For my project, I used Lori Whitlock's adorable birdhouse and wrapped a phrase around the door.  She has several cute birdhouses in the Silhouette online store and SVG files in her shop.   I made several to hang from a spring tree decoration, but you could also fill the little boxes with candy for a sweet little gift.  Keep scrolling down after this post to see Lori's other birdhouse designs (3/10 post).


Step 1:  Move everything except the house portion off of your mat in the software.


Step 2:  Click on the Text Style Window and find a font you would like to use.  I used Lori’s Cutie Pie font.  Type and size your phrase somewhere on your mat.   Phrase ideas:  “Home Tweet Home”, “From Our House to Yours” , “A Gift For You”, a name or address …. endless cute possibilities!

Step 3:  If you double click on your phrase, you’ll notice a green box around your phrase and a little circle with an x in it.  Click on this little circle and drag it over to the window of your birdhouse.  When you hover the word over a line, the letters snap to the shape of the line.   You may have to play with the size of your font and the character spacing to get the letters to line up around your shape.


Step 4: To move your word up around the outside of the circle, you will use the grey sliding bar that appears through your letters. If you place your curser along that bar and slide upwards, your letters will move up and out.


Step 5:  Now, you will want to print just the round phrase on the paper that you want for your birdhouse.  Highlight the entire birdhouse and go to the Fill Color window.  Remove the yellow color (but leave the birdhouse lines) so that the yellow doesn’t print on your paper.  Be sure to also make your paper size 8.5×11, and show your registration marks.


Step 6:  If you highlight your phrase, and click on the “Line Style” window, you’ll notice that the lines of your letters are probably set to 0.0 points … be sure to increase the line thickness to 1.5 so that you see the letters when they print.


Step 7:  Now send your paper through your printer.  Cut the birdhouse out with your silhouette machine and assemble all of the cute pieces into an adorable decoration or gift.


As always, thanks so much for stopping by. To get great scrapbooking ideas & to stay up-to-date on new products & sales please "like" Artsy Albums on Facebook, Instagram & Pinterest!

Wednesday, March 11, 2015

Washi Tape Easter Egg Suncatcher Tutorial

Hi everyone! Do you remember making sun catchers in elementary school using tissue paper? Well, I have an easy project idea that's a lot less messy! It's a pretty Easter egg window decoration that uses washi tape and some cute embellishments. This sun catcher would be a great project to do with the kids!

Here's a quick step-by-step tutorial.

Supplies: (links below)
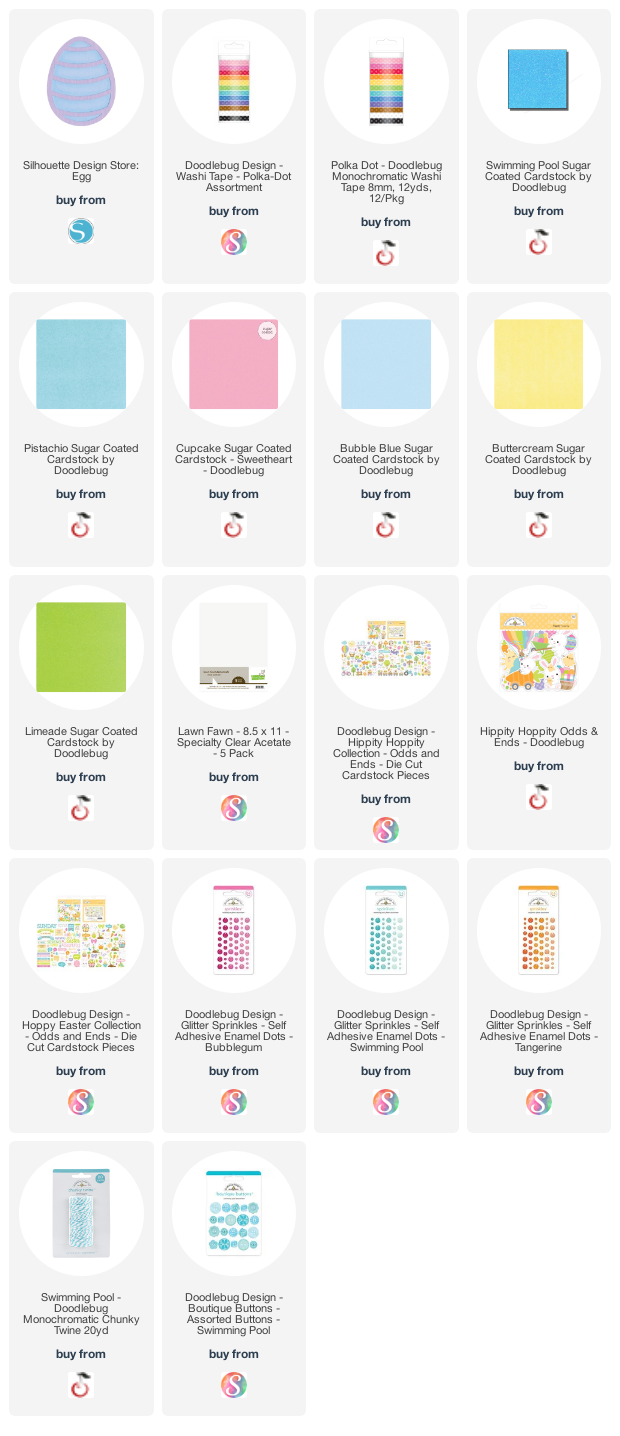
Doodlebug Polka Dot Washi Tape
Doodlebug Sugar Coated Cardstock in Swimming Pool but you can use any color
Clear Plastic Acetate
Embellishments - Easter Parade Bunny & Friends Craft Kit (a perfect substitute - die cuts from the odds & ends)
Glitter Sprinkles Enamel Dots
Boutique buttons
Twine and Ribbon

1. First, I found an Easter egg cutting file (link below).  I enlarged it to the size I wanted and cut it out of swimming pool glitter cardstock using my Silhouette CAMEO machine.

2. Next, I used my glitter egg as a template to cut another egg shape out of clear plastic acetate.

3. Here comes the easy part (and the part the kids will enjoy) ... just tear small pieces of washi tape and randomly lay them all over the clear acetate egg.


4. Continue to overlap the washi pieces until the egg is completely covered.


5. Lift your egg, flip it over, and trim the excess tape from around the edge of the clear plastic.
 

6. To finish my sun catcher, I adhered the glitter cardstock egg directly on top of the washi tape one. Then I added a bow, buttons, some cute critters from the Easter Parade craft kit and some glitter sprinkles. 

Look how pretty it looks! Hang this in your window and see these colors everyday ...

Here is what the project looks like when it's not hanging in front of a window. Still adorable!


With spring right around the corner, you could even make flower or butterfly suncatchers!  The possibilities are endless and made more fun by lots of colorful washi tape. 

Below are some of the products used. If they were unavailable, I added a very similar product. Hope you give this fun project a try and thanks for stopping by!

Supplies: Affiliate links are used in this post at no additional cost to you. I receive a small amount of compensation when you click through and shop using the provided links. This helps me to continue building my small business. Thank you!

Tuesday, March 10, 2015

Birdhouses - Lori Whitlock's March Blog Hop

Hi everyone! Welcome to Lori Whitlock's March blog hop! If you just hopped on at my blog, be sure to head back over to Lori's site and start from the beginning. There are lots of fun projects at each stop so you won't want to miss any of them!

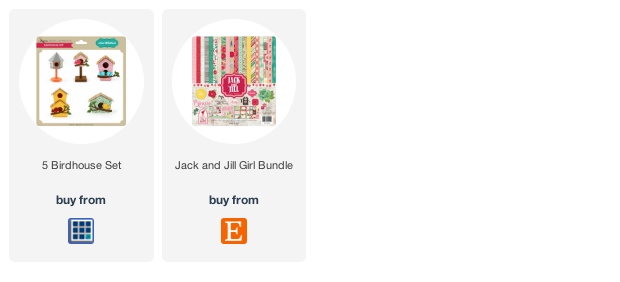
For my project, I created several birdhouses for a cute spring decoration using one of Lori's awesome cutting files called 5 Birdhouse Set (link below).  I plan to hang them inside, but for now I was able to get some pictures outside on a beautiful Georgia day.


I used Echo Park's Jack and Jill, Jill Collection which you can see here on Echo Park's website. You can also purchase it here or there's another link below.


Check back in at Lori's blog this Thursday, when I will be sharing a tutorial for wrapping words or a phrase around a shape, just as I did around the door of the yellow birdhouse above! (Update: Click here for that tutorial.)


Thanks for stopping by my blog along your hop.  Now back to the hop!  

Your next stop is:  Kathy Skou


Thursday, March 5, 2015

Say Cheese & Enchanted Album Kits, Disney Themed, Simple Stories

Hey Friends! Brand New in the Shop - Simple Stories Say Cheese and Enchanted Album Kits.
These fun Disney-themed albums are available as DIY scrapbook kits OR pre made.   Are you going to Disney or have you been recently? 

Say Cheese Disney Themed Scrapbook Album Kit


Enchanted Disney Themed Scrapbook Album Kit


Although you will take, or have already taken, many more photos than will fit in these Disney albums, these great scrapbooks are perfect for your favorite photos, character autographs, and other "special" mementos from your trip. They will hold 50 photos and have  2 pockets for collecting character autographs, tickets, or other memorabilia! The albums are the perfect size to carry with you to show co-workers, family and friends the fun you had on your trip!

The albums are 6x8 inches and have 30 pages (15 double-sided). There are 12 full 6x8 scrapbook pages, and lots of other photo pocket and journaling pages. The products used are made by Simple Stories and the pages all coordinate in traditional Disney or princess colors.


Visit the Artsy Albums online shop today to see additional photos and to purchase your album or kit today!


Boys Overalls Card with Lori Whitlock

Hi friends ... I'm excited to share a super cute boy overalls card with you today. To show off Lori’s brand new Echo Park Paper Line, Jack & Jill,  I thought it might be fun to focus on “Jack”, the more masculine theme. So, here's an adorable card I created using Lori’s Baby Boy Overall Card cutting file and her new paper collection (links below).


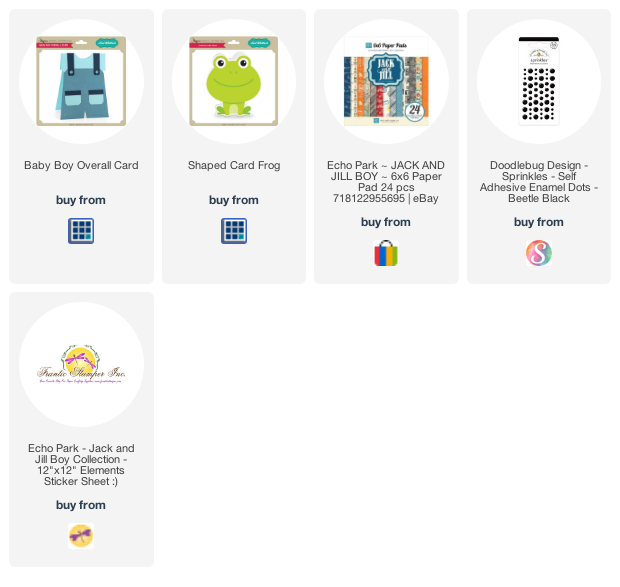
I love the plaid print I used for the shirt and the trim on the pockets. The cute Boys Rule sticker is from the 12x12 elements sticker sheet. I added a few red buttons for fun. I used Lori’s frog favor box to cut the little frog’s head out. I think he's adorable peeking out from the pocket. And then added a few black enamel dots for his eyes. Love him! 🙂 


Below are some of the product links. To see my original post of this project on Lori's site click here.
 
 
As always, thanks so much for stopping by. To stay up-to-date on new products & sales please "like" Artsy Albums on Facebook, Instagram, Pinterest & YouTube!