Happy Friday! Today, I've added a fun new Christmas kit to the shop! I know what you're thinking, "a Christmas layout kit in August?" Yep, I'm throwing the seasonal rules out the window and thought this would be fun! I love Christmas and was in the mood to scrap something different, soooo ... say hello to my new 12x12 Home for the Holidays Layout Kit ...
To purchase the instructions for this visit:
I designed this with the adorable Doodlebug Christmas Magic collection and it includes 6 super cute pages. Why wait until November or December to play with these adorable papers and embellies? You can create these now & have the pages ready to go for the upcoming holiday. OR ... you can finally scrap your photos from last year. No judgement, I still haven't done all of mine either and I scrap every day, lol!!
These 6 cute pages are embellished with Santa, the Mrs., adorable elves, and ornaments galore! This will surely bring on the happy holiday vibes early.
You can use the space above to list out your fun plans like, Dec 7th - Christmas Party, Dec 10th - Dinner with the Stevens, Dec. 18th - Light Show. Or use it for a gift wish list or holiday reminders.
The colors are great - not just the traditional red and green but also pretty yellows, pinks, and blues!
These 6 colorful pages (3 double page layouts) have plenty of space for at least 19 photos and journaling. They are perfect for highlighting photos of your favorite Christmas traditions.
This kit makes it easy to save your memories quickly. You will receive all the paper, die cut embellishments, stickers and a
cute die cut title. All you need is a little adhesive and you'll have your pages done in no
time. So easy and such a fun project!
I loved scrappin' & thinking about Christmas early. It put me in a great mood and was a nice distraction. :)
Thanks so much for stopping by. Hop over to my shop and purchase this Christmas Page Kit early and get started on some Christmas Magic of your own!
Update: This kit has sold out
but the instructions are available in my shop. They are simple, step-by-step,
and include full color photos of each page. Links for the
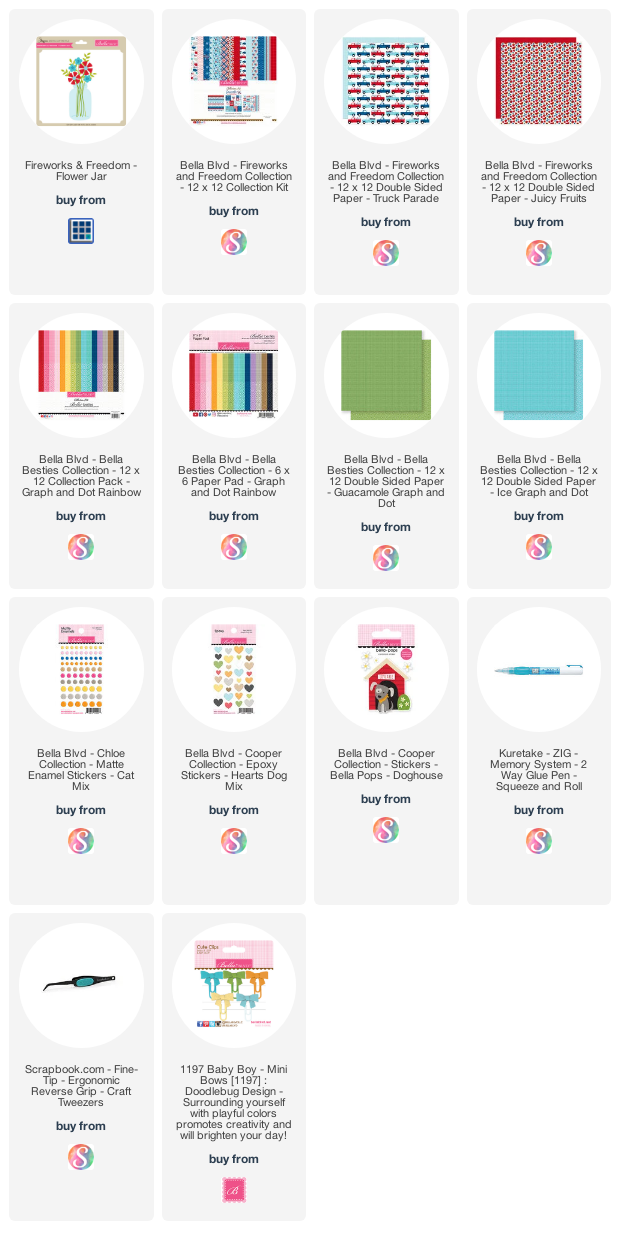
instructions and the products used are below. Happy scrappin'!
Blog * Shop * Facebook * Instagram * Pinterest
Supplies: As an Amazon Associate, I earn from
qualifying purchases. Affiliate links are used in this post at no
additional cost to you. I receive a small amount of compensation when you click
through and shop using some of the provided links. This helps me to continue
building my small business. Thank you!


(469).png)
(447).png)