Tuesday, April 11, 2017

Bunny & Lamb Treat Boxes - Lori Whitlock April Blog Hop

Hi friends! It's time for Lori Whitlock's April Blog Hop and I'm excited to be joining the creative team to share some fun projects with you!  My blog is the first stop on the hop, so be sure to hop back over to Lori's site for more great products and ideas!
 
For my project, I created two of Lori's darling treat boxes. They're actually bigger than I thought they'd be (approx 3.5" x 3.5" x 1.5") so, I was thrilled they could fit candy and a gift card in them. Aren't they adorable?!


I used an embossing folder to give the lamb's fur a wooly texture and the bunny's big floppy ears are so stinkin' cute!
 
Be sure to continue hopping along to see lots of other amazing projects. Your next stop is Kathy Skou! Have a great day! 

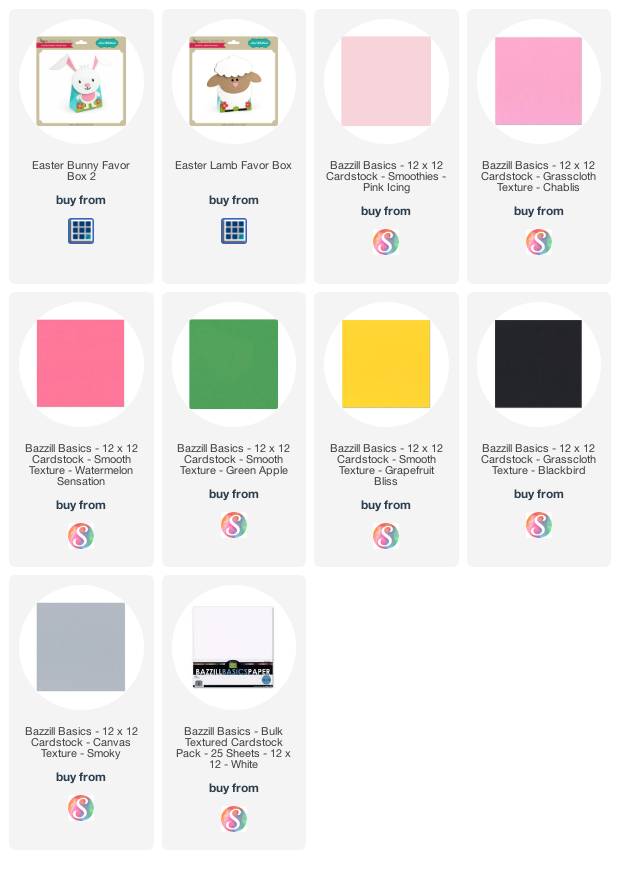
Supplies: Affiliate links are used in this post at no additional cost to you. (loriwhitlock.com is not an affiliate link.) I receive a small amount of compensation when you click through and shop using the provided links. This helps me to continue building my small business. Thank you! 
 

Thursday, April 6, 2017

Traci's Scrapbook Space

Hi everyone!  It's Traci, and I'm up on the blog today to share my craft space with you.  I'm blessed to have recently moved into a new home with a large basement. Since my scrapbook kit business, Artsy Albums,  requires a lot of space for storage, and tables for kits and packaging,  I turned a large room into a fun work space.
I have four Ikea tables, and one Martha Stewart project desk, in the center of my space.  This lets me easily spread out kit materials, and have friends over to scrapbook.  I tend to work standing up, so the taller project desk works well for me.  I was thrilled to get the large chalkboard on the far wall from my local Archivers store just before they closed.  I worked there for several years, so it's like a big souvenir from happy times.
On one side of the room, I have some storage space and my desk.  The door in the middle leads to my shipping room and extra storage for kits that are ready to mail out.


I love my desk area.  I have some of my favorite layouts displayed on Doodlebug clipboards, my wall calendar (see post about the calendar here), my Doodlebug pin collection, and my computer.  
I have 3 more Martha Stewart project tables on another wall.  This space has my CAMEO machine, ribbon wall, lots of storage as you can see below, and a long space for packaging up my kits.
On the back wall I have two large shelving units from Ikea.  They hold everything from extra adhesive, albums, and bins of sprinkles, stickers, doilies, gems, 6x6 paper pads, extra tools, etc.  I love clear glass jars so I keep washi tape, twine, and buttons in those.


My card stock is in crates and all of my paper collections are organized in bins in my closet.  My wonderful husband built the shelves on both walls in my closet to hold the bins.  
Finally, in the center of my closet is a small table for my Sizzix big shot and die storage.  

I hope you've enjoyed a peek into Artsy Albums work zone ... my happy place!  Thanks for stopping by!

Wednesday, April 5, 2017

Baby Boy & Girl Scrapbook Album Kits with PhotoPlay

Hey everyone! I have new baby boy & girl scrapbook albums and they are precious! I designed them with the super cute PhotoPlay collections called About a Little Boy & About a Little Girl. I just love the balloons, the kites, and all the sweet animals. They make wonderful keepsakes for your sweet newborn's memories.

First up is the Baby Boy ...

Baby Boy Scrapbook Album with cute animals, balloons, & kites

To purchase the instructions for this album visit:

I also used 6x8 inch Simple Stories binder albums. For the boy, I used a gorgeous teal and the for girl ... a pretty pink!

Baby Boy Scrapbook Album pages with cute animals, balloons, & kites

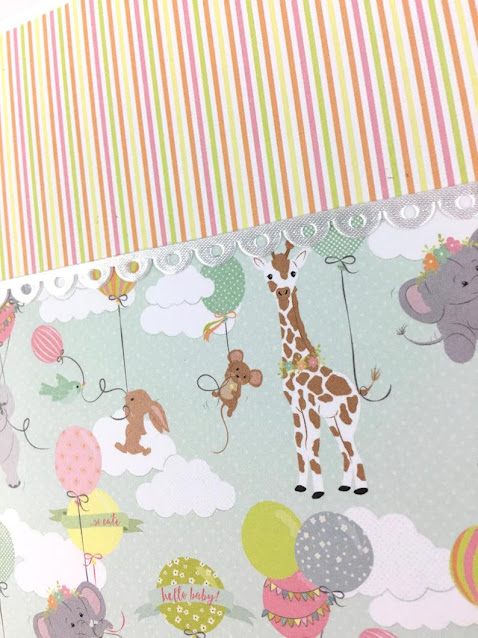
Baby Boy Scrapbook Album page with cute giraffe wearing glasses, a balloon, and a scalloped circle journaling spot

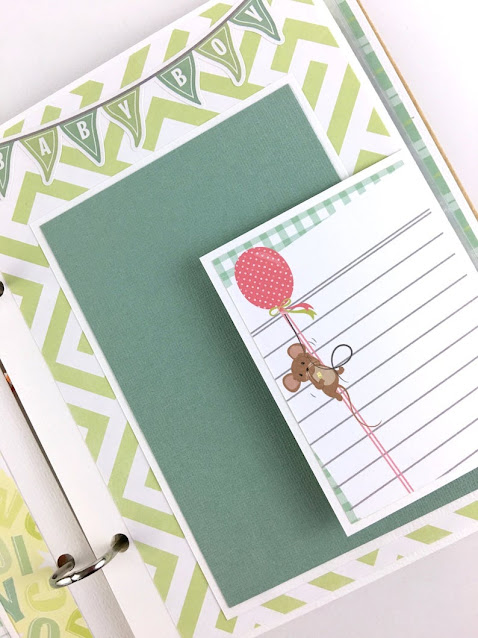
Baby Boy Scrapbook Album Page with a folding cards, a banner, and a cute mouse holding a balloon

Baby Boy Scrapbook Album page with cute animals, balloons, & a pocket


Next, Baby Girl Scrapbook Album ...

Baby Girl Scrapbook Album with cute animals, balloons, & kites

To purchase the instructions for this album visit:

Baby Girl Scrapbook Album pages with cute hippo, butterflies, and flowers

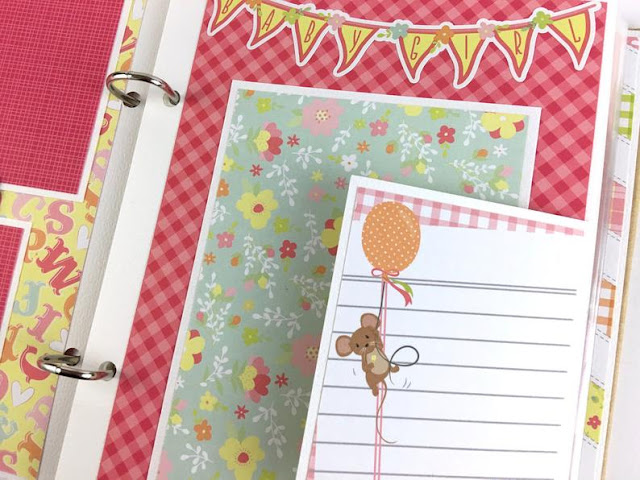
Baby Girl Scrapbook Album page with cute mouse and balloons

Baby Girl Scrapbook Album page with cute animals, balloons, & clouds

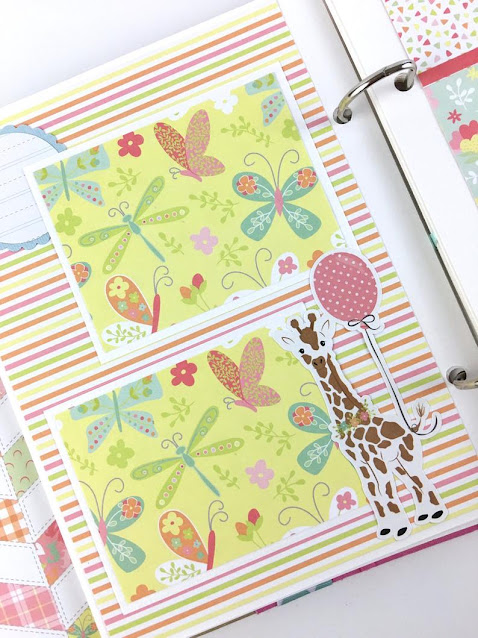
Baby Girl Scrapbook Album page with giraffe & butterflies

These scrapbooks make beautiful gifts for an expectant mom or a new baby, or ... fill it with all of the memories of your own little bundle of joy. 

The albums have 16 pages (8 double-sided) and include 3 pockets, and 10 additional divided photo sleeves so that over 70 photos will fit in each album! Adorable colors, sweet little baby animals, and lots of space for your darling pictures.

Update: These kits have sold out but the instructions for them are available in my shop. They are simple, step-by-step, and include a product list and full color photos of each page. Links for the instructions are below. Happy scrappin'!

Thursday, March 30, 2017

Beach Day Scrapbook Mini Album Kit

Hello friends! Check out this fun new mini album kit that's now in my shop! It makes a perfect keepsake for summer photos of a tropical vacation, the beach, a cute cottage, fun with family and friends, and all your sunny memories!

 
To purchase the instructions for this album visit:

Colorful, summer themed paper, pockets, embellishments, and lots of space for photos ... these are just a few of the things that fill the pages of this fun scrapbook. The 6x8 inch covers are made of sturdy chipboard and I decorated it with the fabulous Carta Bella, Beach Day Collection. 

Inside, there are 12 scrapbook pages (6 double-sided) that include 3 pockets, 1 fold-out page, 3 flippies, and space for at least 28 photos.

The DIY album kit includes two chipboard covers, 2 binding rings, pre-cut pattern paper and card stock, journaling cards, stickers, enamel dots, ribbon, and full color step-by-step instructions sent via PDF download.


This album would make a wonderful gift for family or friends, or ... keep it for yourself and add your own summer memories. It's just the right size for a purse, to carry and share wonderful moments, or to display on a shelf, coffee table, or your desk at work! 

As always, thank you so much for visiting my shop! My goal is to create scrapbooks, memory albums, and kits that encourage people to share their stories, preserve their photos, and document their everyday lives. 

Update: This kit has sold out but the instructions are available in my shop. They are simple, step-by-step, and include full color photos of each page. Links for the instructions and the products used are below. Happy scrappin'!

Supplies: As an Amazon Associate, I earn from qualifying purchases.  Affiliate links are used in this post at no additional cost to you. I receive a small amount of compensation when you click through and shop using the provided links. This helps me to continue building my small business. Thank you!

Friday, March 17, 2017

Doodlebug Collectible Pin Wall Display

Hi everyone!  It's Traci and I'm back to share another project for my craft room with you.  As you may remember from my last post (wall calendar with Daily Doodles), I recently moved into a new craft space and I'm having lots of fun adding things to my walls.  So when the pin challenge came up, I decided to create some wall displays that I can add to as I collect more pins.

This is a 12x12 display. I started with a piece of white card stock and layered the following pieces on top: (some product links below)

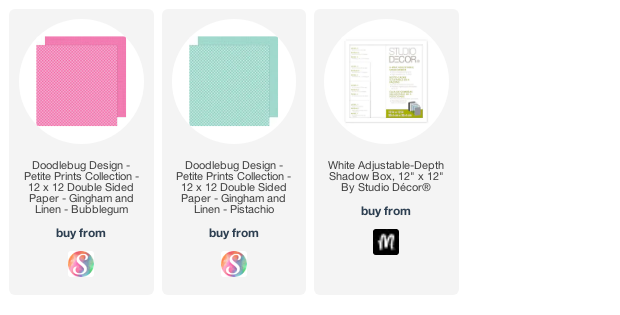
Pistachio Gingham Prints 11 3/4" x 11 3/4"
(product link below)
Spring-A-Ling double-sided card stock 11 1/2" x 11 1/2"
Bubblegum Gingham Prints (product link below) -- cut on my CAMEO machine. (This is an offset of the cutting file).
White card stock -- cut on my CAMEO machine.  Link Square Lace Background 11" square
May Flowers Dot paper -- cut into 2" squares and adhered behind each square.

I adhered everything to a piece of 12x12 corrugated cardboard cut from a packing box.

Once I pushed each pin through the paper and card board, I attached the pin's original card with the pin backing.  This is so I can remember the names, but also so that I don't lose the original card.

I added my display to a white 12x12 shadowbox frame (link below). I used this one because it has adjustable inserts to change depth as needed.


I went ahead and made two more frames for my room because I know I'll be adding more pins to my collection.  

Thanks for checking out my project today!  Be sure to check back next week, when the team will have more project ideas for these adorable collectible pins!

Blog * Shop * Facebook * Instagram * Pinterest

Supplies: Affiliate links are used in this post at no additional cost to you. I receive a small amount of compensation when you click through and shop using the provided links. This helps me to continue building my small business. Thank you!  

Thursday, March 16, 2017

OOAK New York Travel Scrapbook Album

Hi friends, just hopping on the blog this morning to share a OOAK mini album I created for a client this week. She wanted a travel scrapbook for an upcoming trip to New York and I had just the collections for it. I sourced a few extra stickers of cityscapes that were perfect, and I just love the way it turned out. I hope she does too!

I designed this with a 6x8 inch chipboard binder album by The Paper Studio and two paper collections - PhotoPlay's Boarding Pass and Kaisercraft's Wanderlust (links below).

Both collections had rich fall color schemes and went beautifully together!

I added an interactive plaid flippie to the page above and a couple of those city inspired embellishments.

Here's what the folding element looks like opened - what a great little journaling spot.

I made a wonderful pocket page for tickets, maps, postcards, brochures, hotel key cards, an itinerary, notes, or extra photos.

These pages are perfect for pictures of the city, favorite sights, friends, family, a favorite restaurant, a museum, a Broadway show, shopping, and all the fun moments from the trip. On the right, there's another cute flippie ...

... with another great journaling spot underneath! Such a fun album to work on.

Below are the product links used to make this mini. Thanks for stopping by and have a great day

SuppliesAs an Amazon Associate, I earn from qualifying purchases.  Affiliate links are used in this post at no additional cost to you. I receive a small amount of compensation when you click through and shop using some of the provided links. This helps me to continue building my small business. Thank you!
Blog * Shop * Facebook * Instagram * Pinterest