Tuesday, June 30, 2015

12x12 4th of July Layout with Doodlebug

Hey guys! Today, I'm sharing my latest Doodlebug Design Team Project and it's a bright and fun 12x12 layout just in time for the 4th of July!  I have always loved the red, white, and blue color combination ... but when you pair those colors with Doodlebug's adorable patterns and embellishments, it's even more fun!


For this page, I layered a few Patriotic Picnic papers with some of Doodlebug's textured cardstock.  I used my Cameo machine to sketch a fun swirly border with a cutting file called 3 Doodle Borders (link below), and then anchored the page with some striped paper and scallop fancy frill stickers.

 
I also love combining Chippers alpha letters and the Skinny cardstock stickers. As you can see below, they worked perfectly together for my July 4th title. Can't have this patriotic holiday without a little sparkle, so the star gems were perfect for adding some shine to my layout.
 

Here's a list of the Doodlebug goodies I used in this layout. But because these are older products and may be hard to find ... I've listed some great substitutes in the links below.

Sweetheart and Lily White card textured yardstick
Patriotic Picnic Papers and Stickers
Star Jewels
Skinny Cardstock Stickers
Chippers Alpha stickers
Fancy Frill border stickers
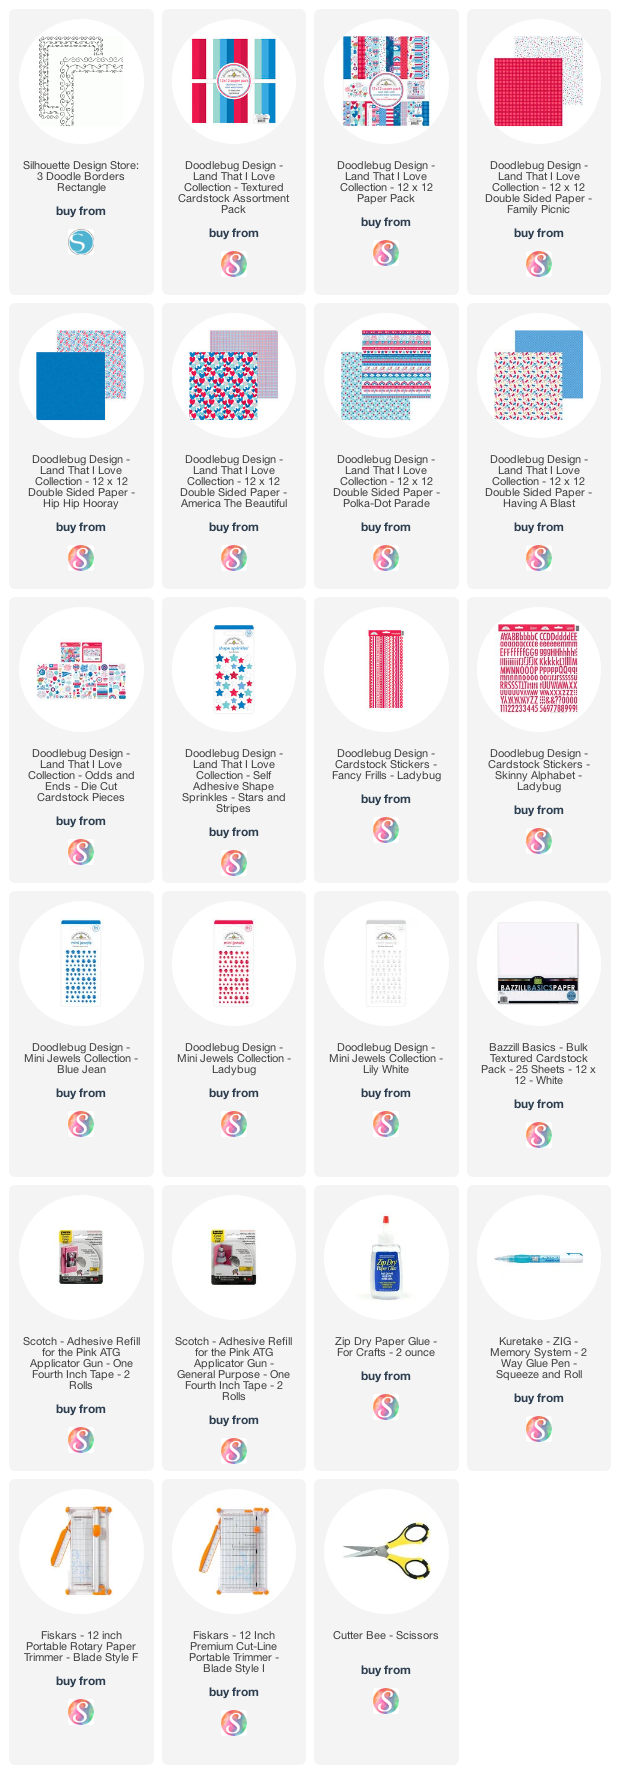
Supplies: Affiliate links are used in this post at no additional cost to you. I receive a small amount of compensation when you click through and shop using the provided links. This helps me to continue building my small business. Thank you!


Tuesday, June 23, 2015

Doodlebug ABC Book

Hi everyone! Today, I'm sharing my latest Doodlebug Design Team project. It's a cute child's ABC Alphabet Book that you can create for the sweet littles in your life. Doodlebug challenged the team to use Chippers alpha stickers in a fun way so ... I created this awesome album! It's my turn over on the Doodlebug blog today so stop by and say hello!


Each page inside the album is dedicated to a letter of the alphabet. Children can see the letter, a cute Doodle Pop or sticker, a word that starts with that letter and a personal photo!

You could add pictures that correspond with the letter or the word on that page. For example, on this page you could use a cute photo of your little making, decorating or eating a yummy cupcake!

Or ... simply add any photo that's meaningful to them. The monster on this page cracks me up! 😂 I love him!

 
Wouldn't this make the sweetest gift for a child or grandchild, filled with photos of them or family members? Kids love to see photos of themselves.
 

You could get really creative with this idea and also make a Numbers book to help them learn about counting. Keep it simple and add numbers 1-10.
 

This would also make a super fun project to do WITH the kiddos! Let them add the letters, chose the stickers and pick out the photos! Weekend afternoon entertainment ... done!


Add a little bling ... what little girl doesn't love that?!


Thanks for letting me share another mini album with you! Have a great day and visit my shop for lots of wonderful album kits and premades!
 

Friday, June 19, 2015

Father’s Day Gift Card Tag & Tutorial

Hey everyone, I’m so excited to be sharing a fun and easy Father’s Day Gift Card Holder project over on the We R Memory Keeper's blog. I created an awesome tag titled "Amazing Dad" that's perfect for a restaurant, home improvement or store gift card. It turned out soooo cute ... I figured I had to share the quick tutorial!
 
father's day gift card holder tutorial

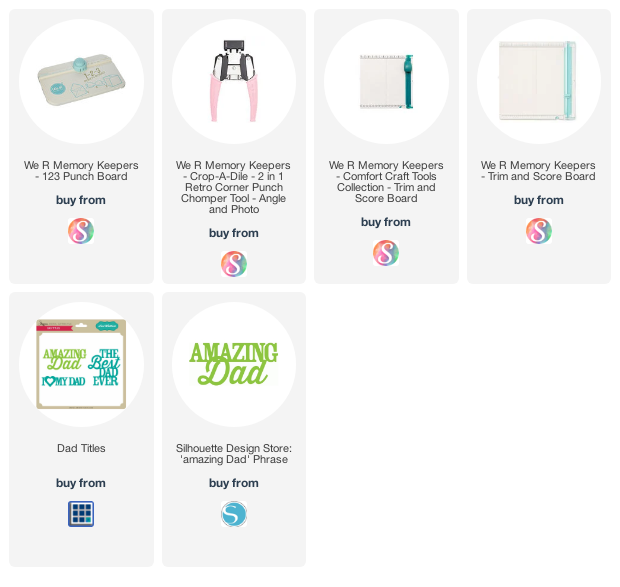
To create the tag, I used the new 123 Punch Board, an angle Corner Chomper, and the trim and score board (links below).

To start, I cut the pocket portion of my tag from navy card stock 3 1/2” x 10”, and scored the piece at 5”.   
father's day gift card holder tutorial

With the piece folded in half on the score line, I used the “angle” side of the pink Corner Chomper to create tag corners.
father's day gift card holder tutorial
 
Next, I created a notch on one short side of the card stock for my “shirt collar” by using the center marks on the 123 Punch Board.  Then I adhered the piece together on the long sides to create a pocket, and punched a small round hole in the back to hold my jute cord.
 
father's day gift card holder tutorial
 
I cut a piece of plaid paper (from the We R Memory Keepers Storytime collection) to create my shirt. 3 1/4” x 4 3/4”.  I followed the same steps to create the tag corners and “shirt collar” notch.
 
father's day gift card holder tutorial
I adhered the plaid paper to the front of the navy background tag.  To create the bow tie, I followed the directions for the XS bow on the 123 Punch Board.  
father's day gift card holder tutorial

Finally, I added the bow tie to the front of the “shirt” and then added a few buttons and a cutting file for the title called "Dad Titles" or "Amazing Dad" (links below).
  
father's day gift card holder tutorial

Thanks for letting me share this tag for Dad with you today! Below are some of the product links I used to make this project and ... a few suggestions! Happy scrappin'!
 
Supplies: Affiliate links are used in this post at no additional cost to you. (loriwhitlock.com & sihouettedesignstore.com are not affiliates.) I receive a small amount of compensation when you click through and shop using the provided links. This helps me to continue building my small business. Thank you!