Hey everyone! Today, I’m sharing a layout & tutorial that I made for the We R Memory Keepers blog. It's a great tip for adding lots of photos to a 12x12 page. I love to add cards that flip-up or fold-out to reveal additional photos. I use this technique in my mini album kits and scrapbook pages all the time. Take a look ...
First, I create my 12x12 base page. For this layout, I used the Denim Blues paper by We R Memory Keepers. Once I had the base and overall design, I looked at the photos to consider size. Could several photos be cropped to 3x4? 4x4? Or, another size?
The key to adding lots of photos is a flip-card that will hold three photos … one on the front, and two inside the card.
For my first card, the photo is 4x4. The We R Memory Instagram overlay frame is 4x4, so I chose to make my flip-up card 4.25” x 4.25”. My base card stock needs to be 4.25” x 8.5”, with a score line at 4.25”.
For this layout, I have two 4.25 x 4.25” cards and one 4.25 x 6.25” card. In order for me to be able to open the cards from the outside of my plastic page protector, I used a craft knife to create a slit in the plastic. I slid the page into my We R Memory Keepers Page protector and laid the photo cards down on top of the plastic. Then I gently cut slits in the plastic along each of the card’s fold lines.
I added adhesive to the back of each card and slipped the backs through the slits so that the card now opens from outside of the page protector.
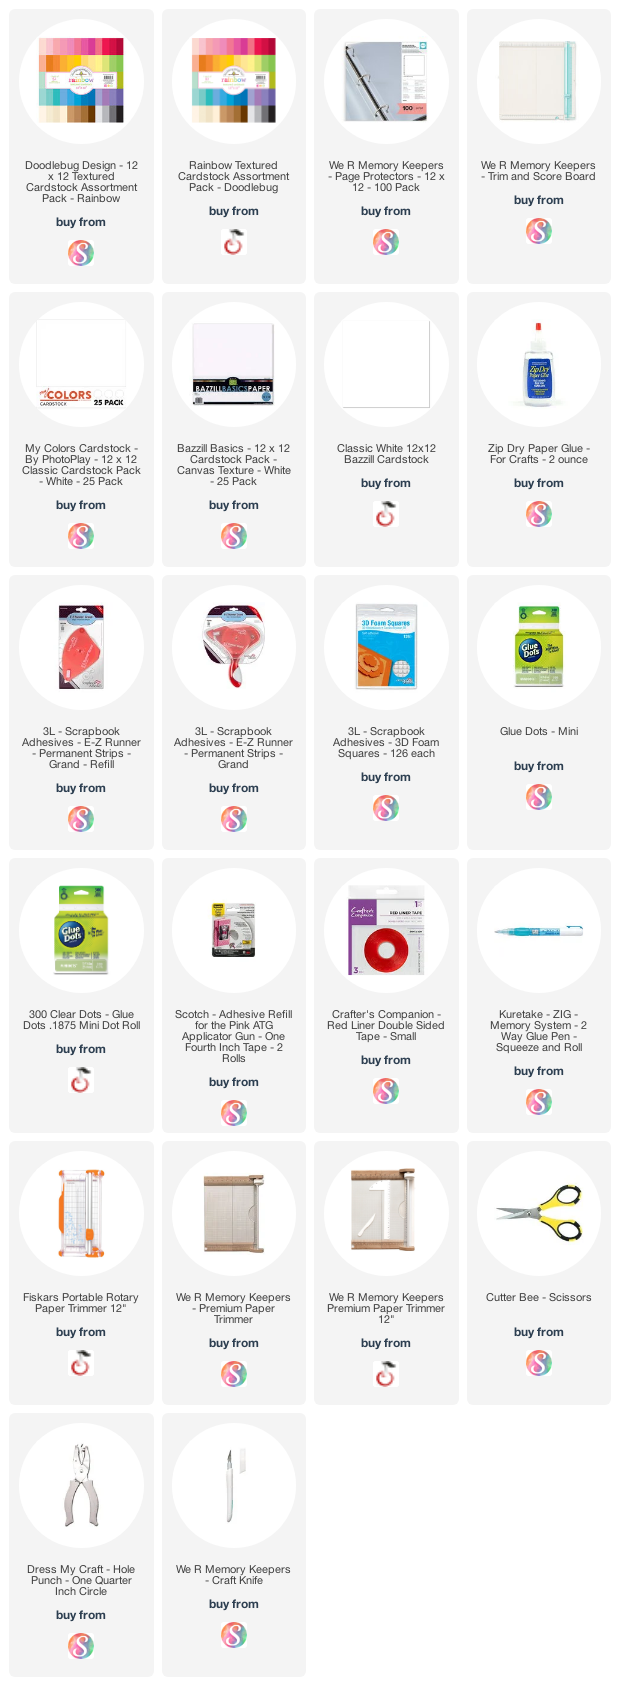
Thanks for letting me share this fun way to get lots of photos on a page! Here are some links to the supplies I used.
Supplies:
Affiliate links are used in this post at no additional cost to you. I receive a
small amount of compensation when you click through and shop using the provided
links. This helps me to continue building my small business. Thank you!


Blog * Facebook * Instagram * Pinterest


No comments:
Post a Comment